|
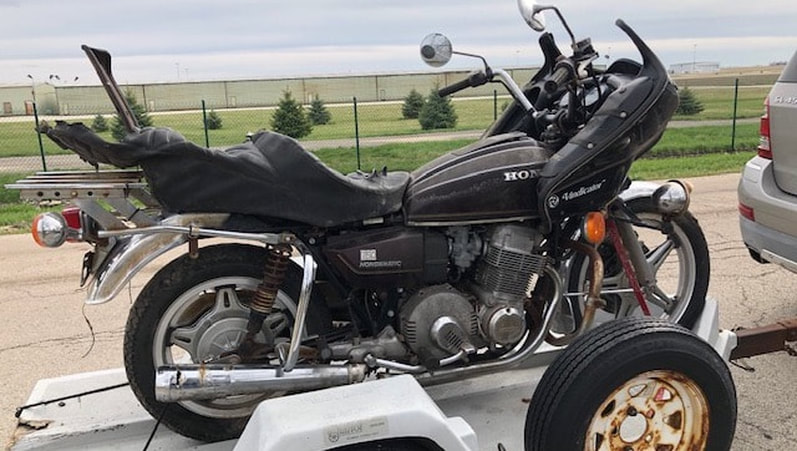
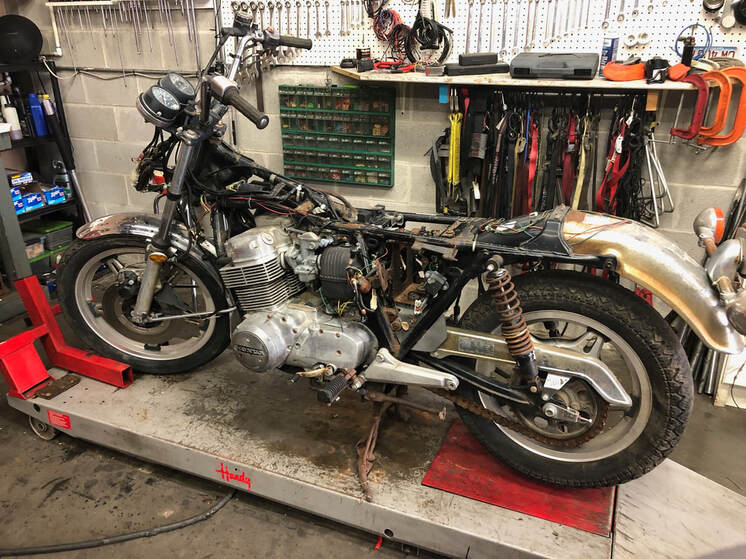
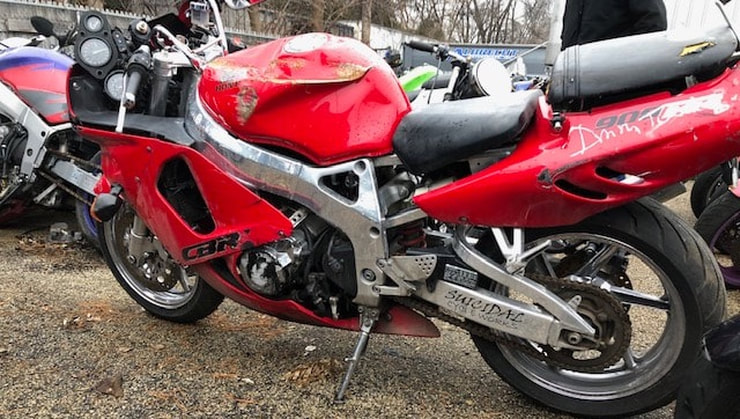
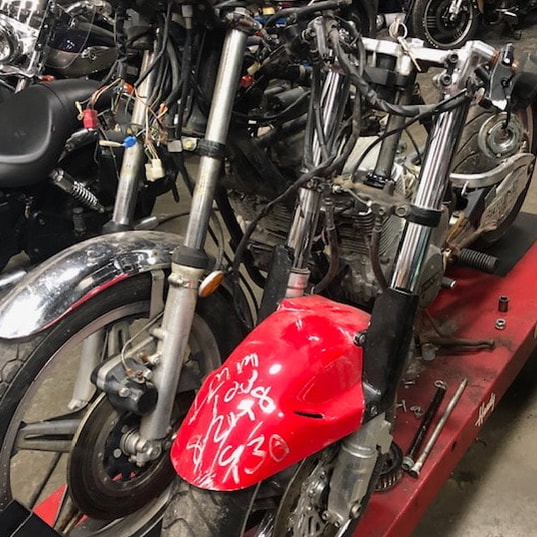
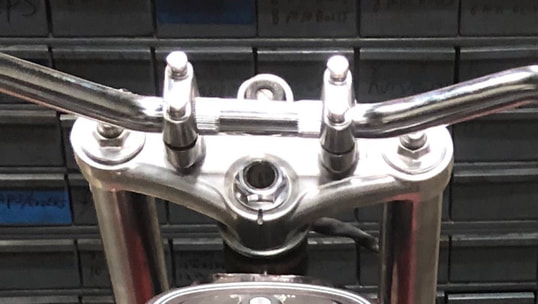
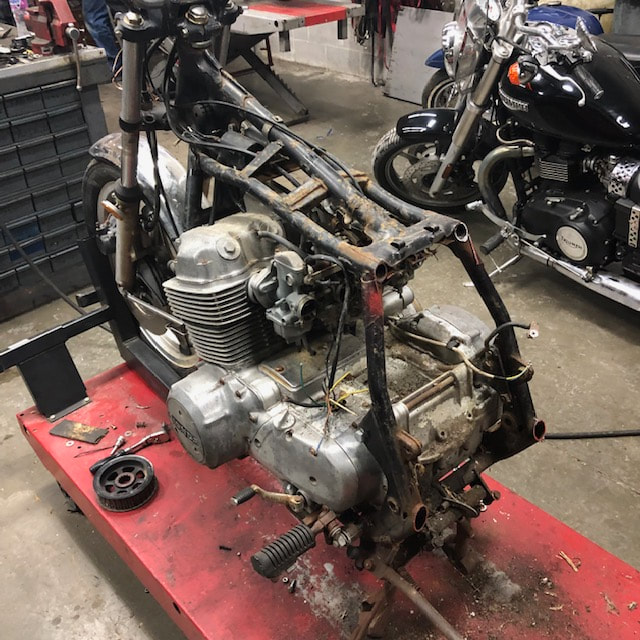
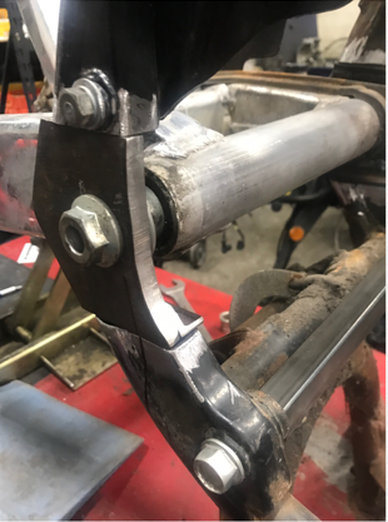
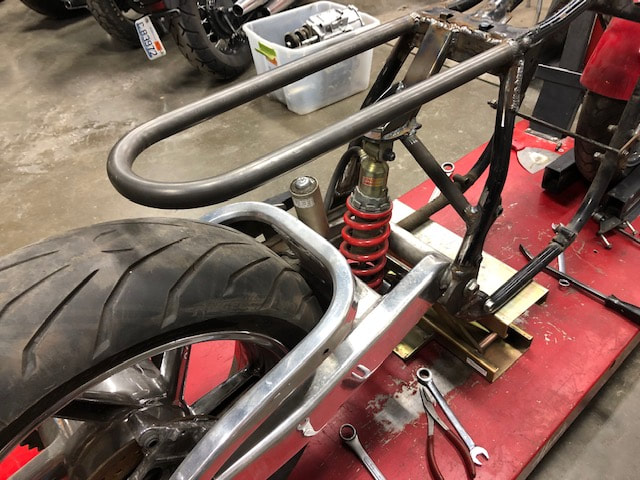
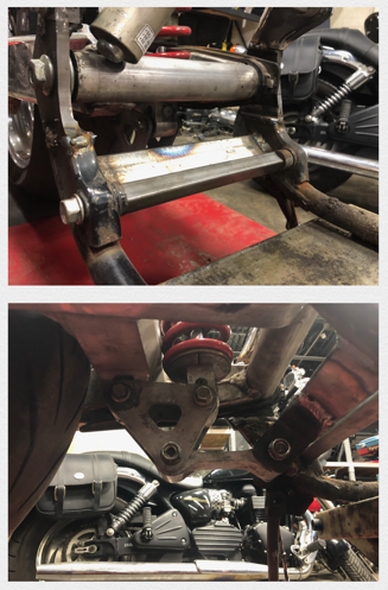
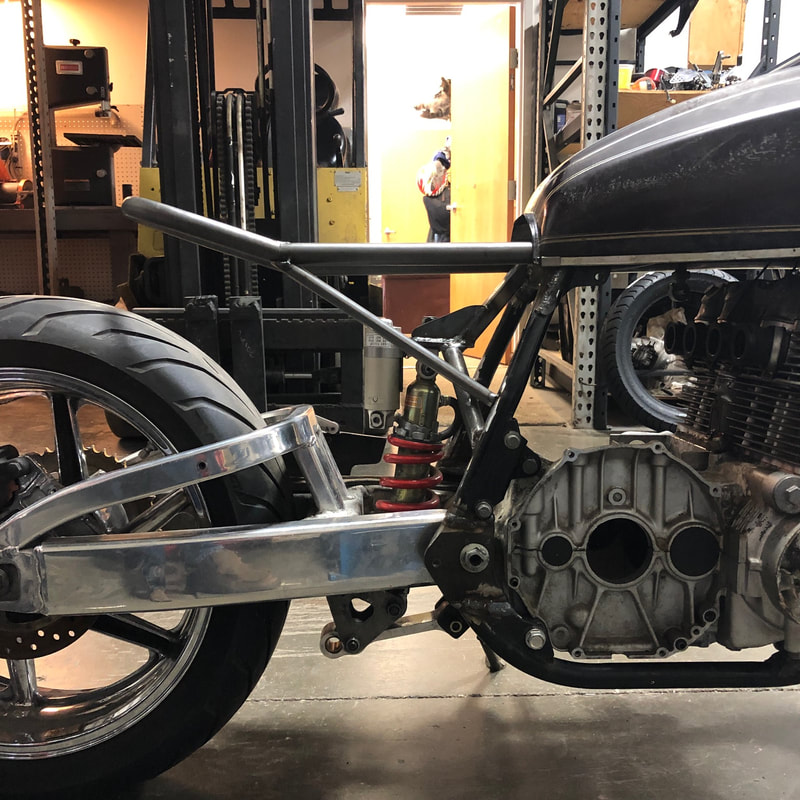
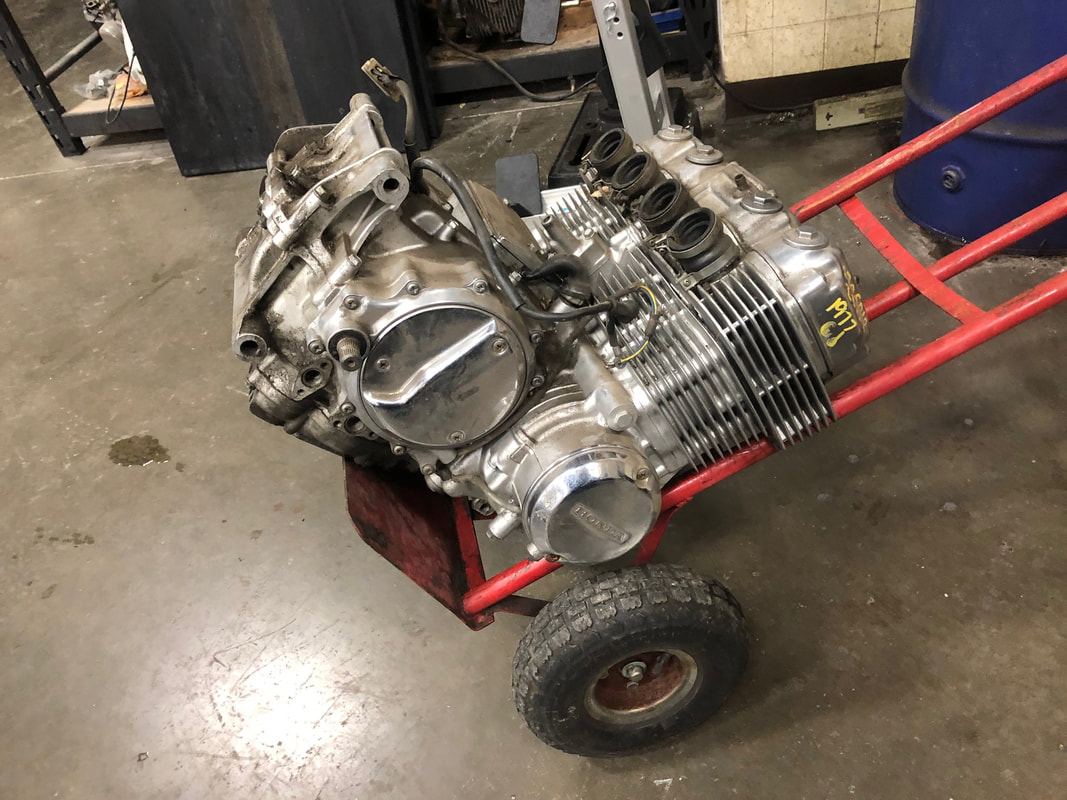
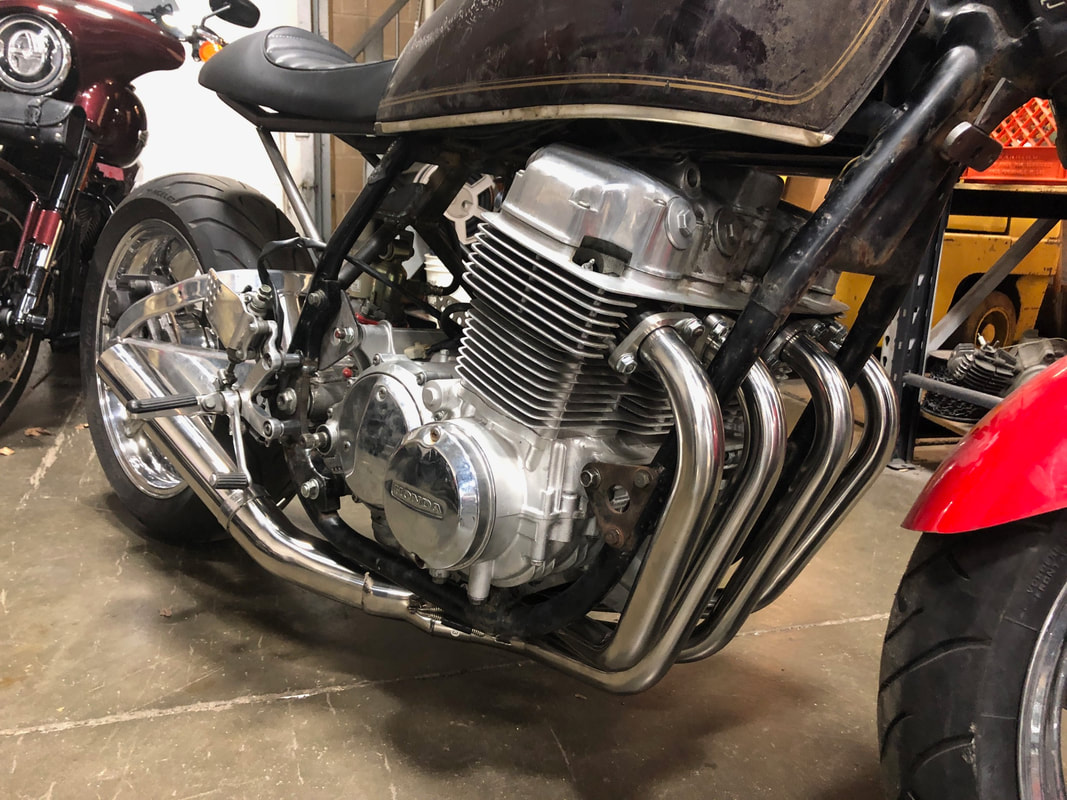
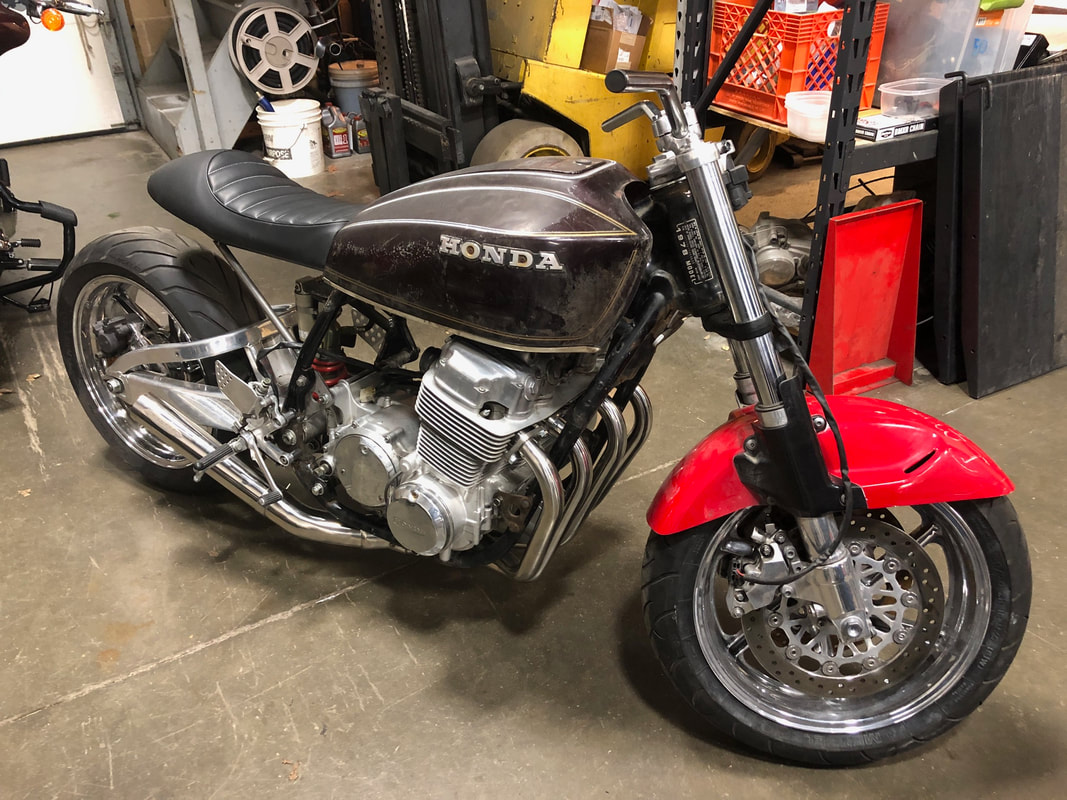
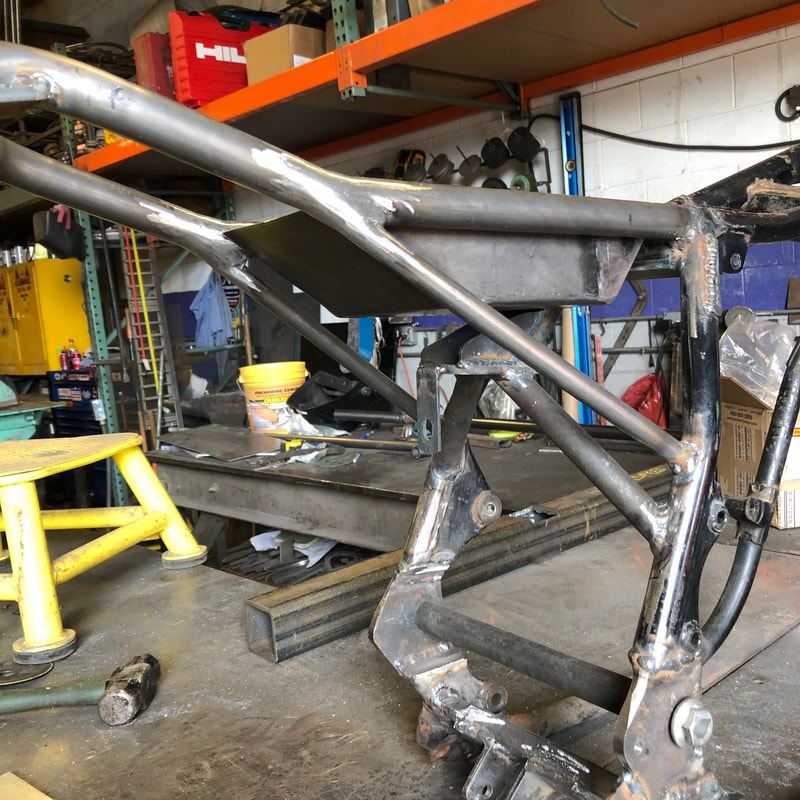
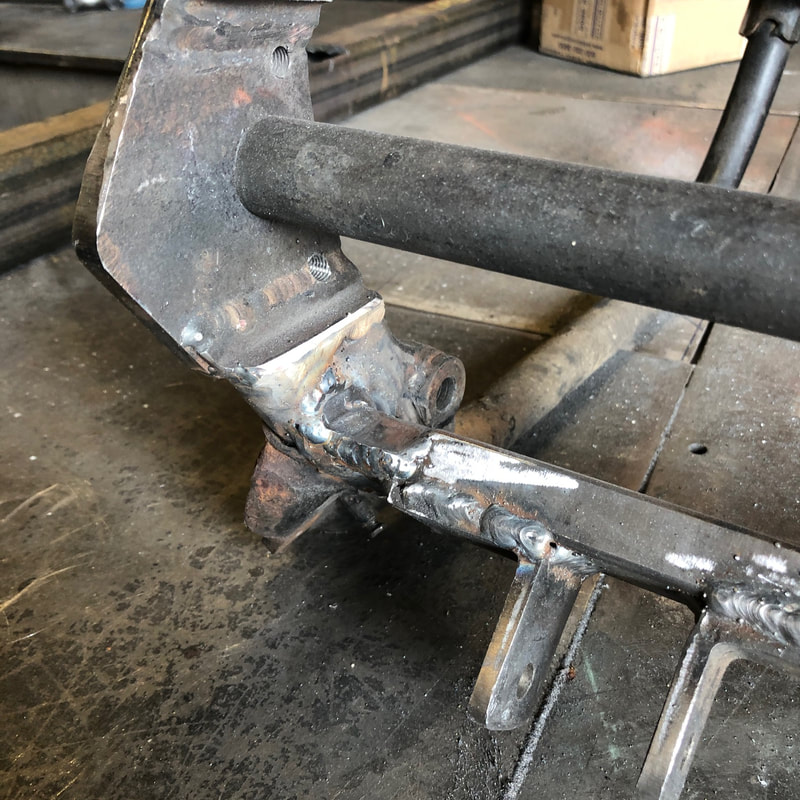
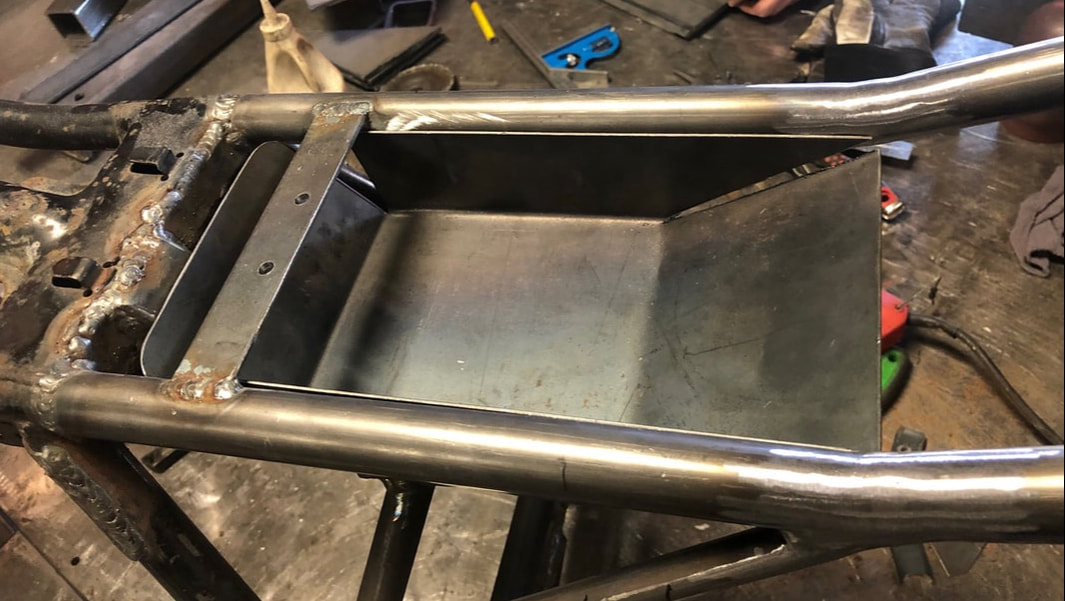
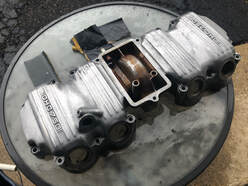
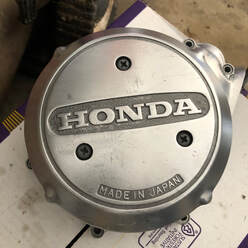
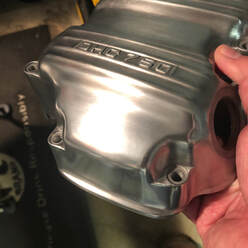
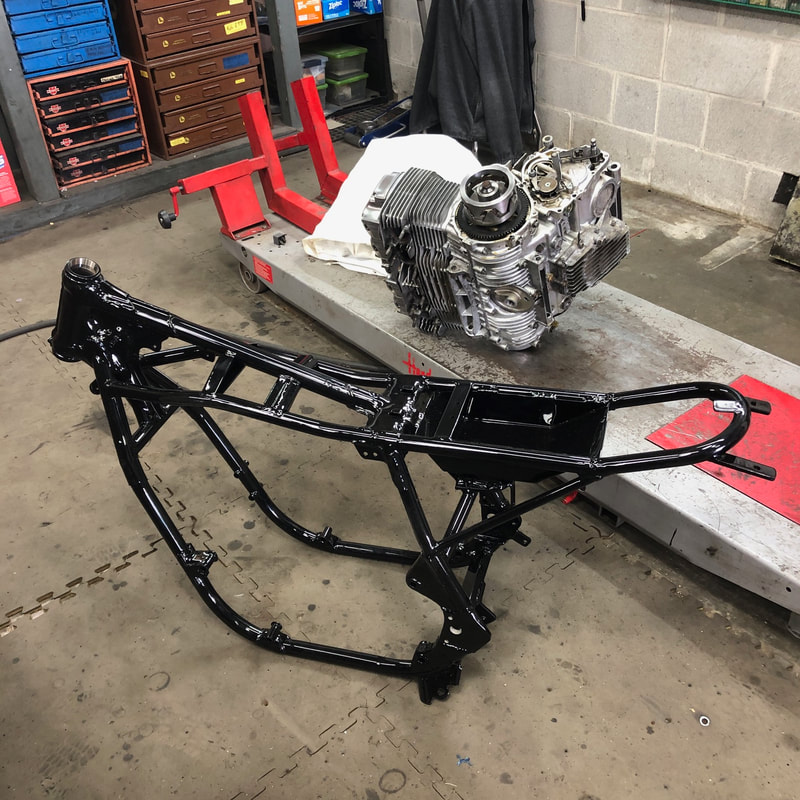
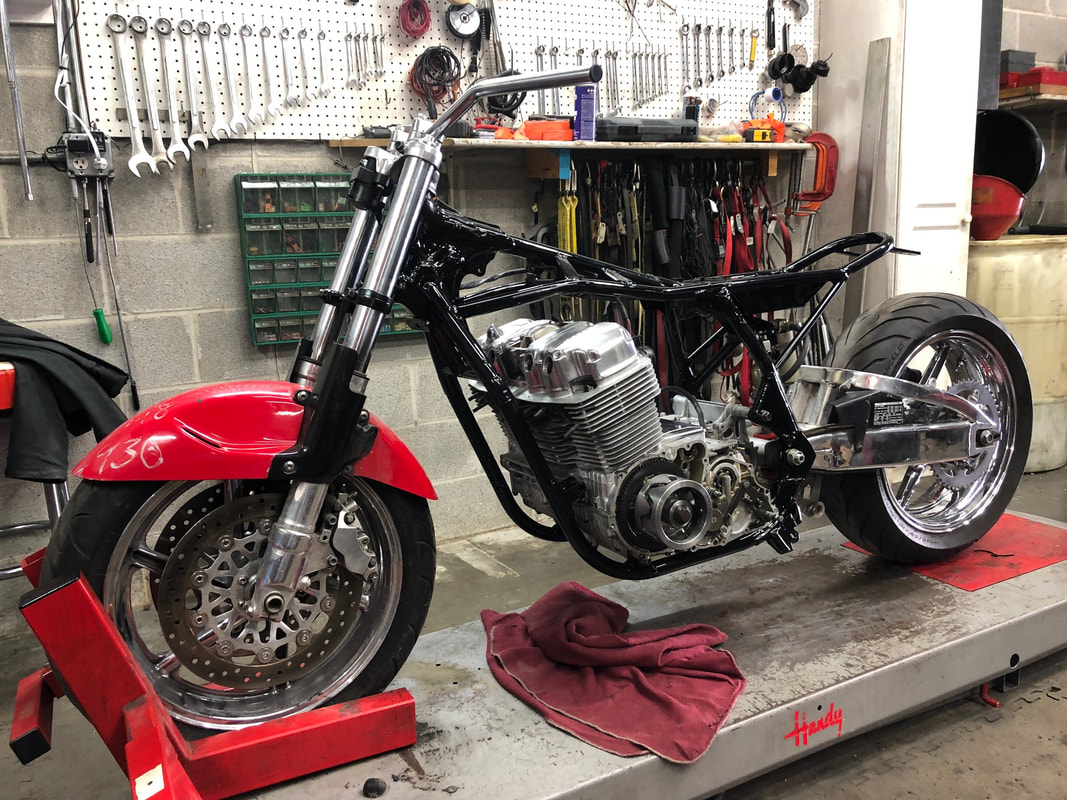
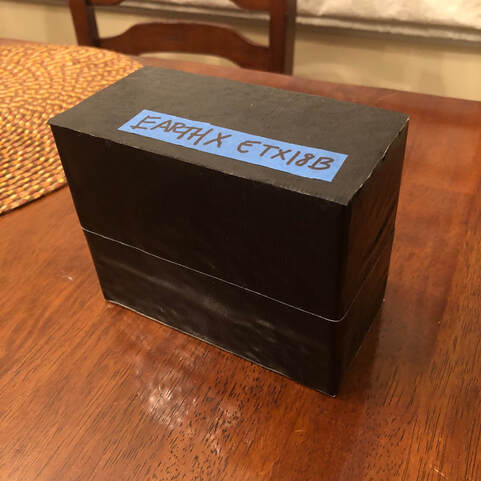
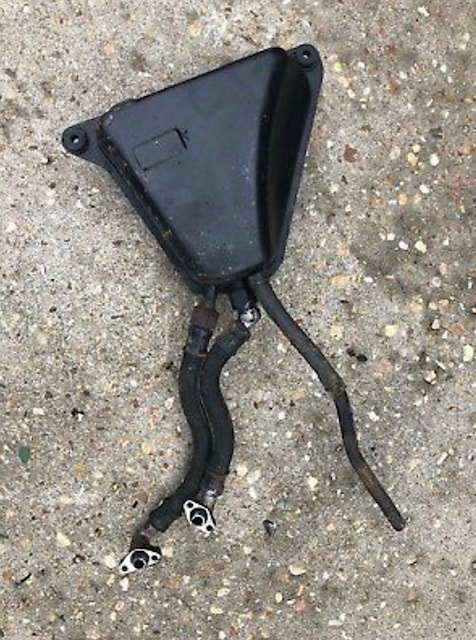
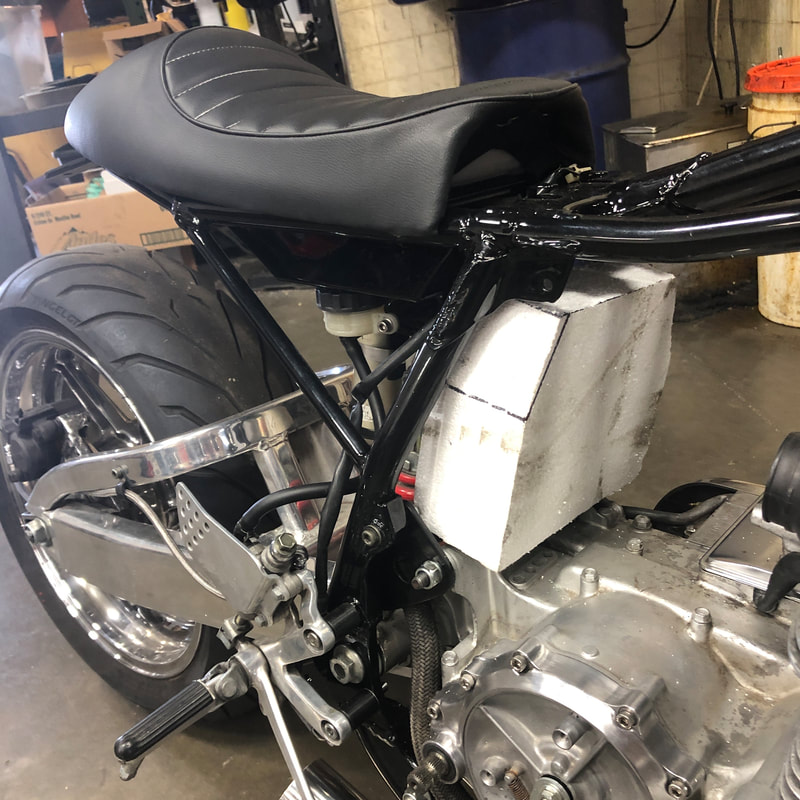
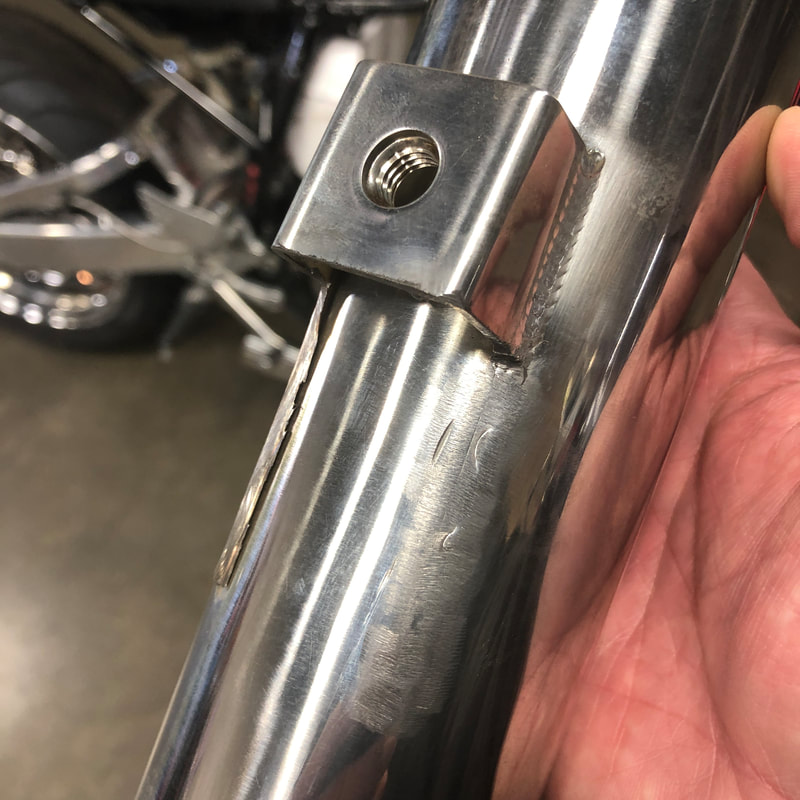
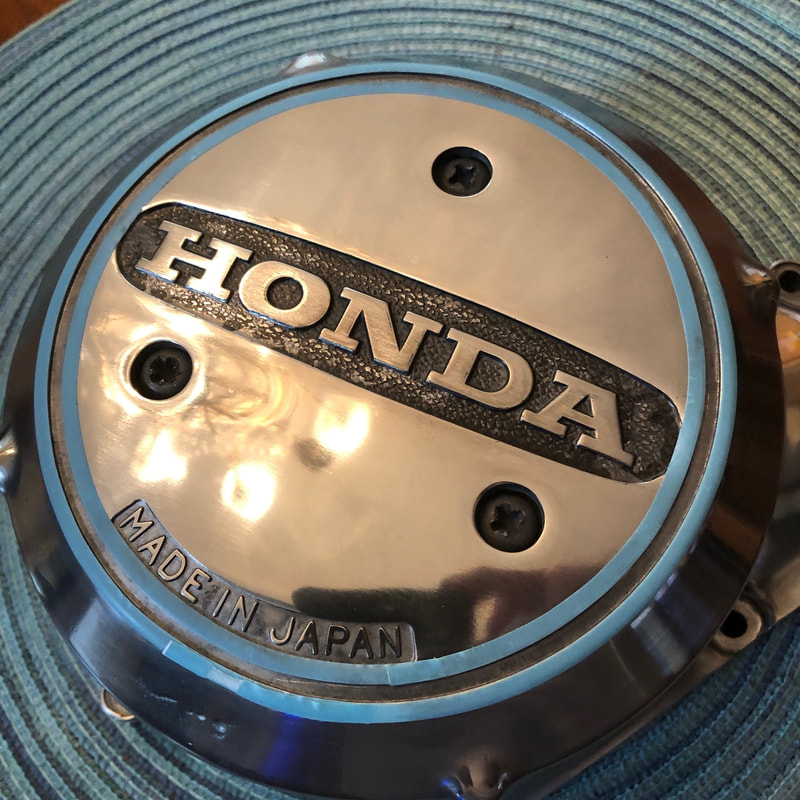
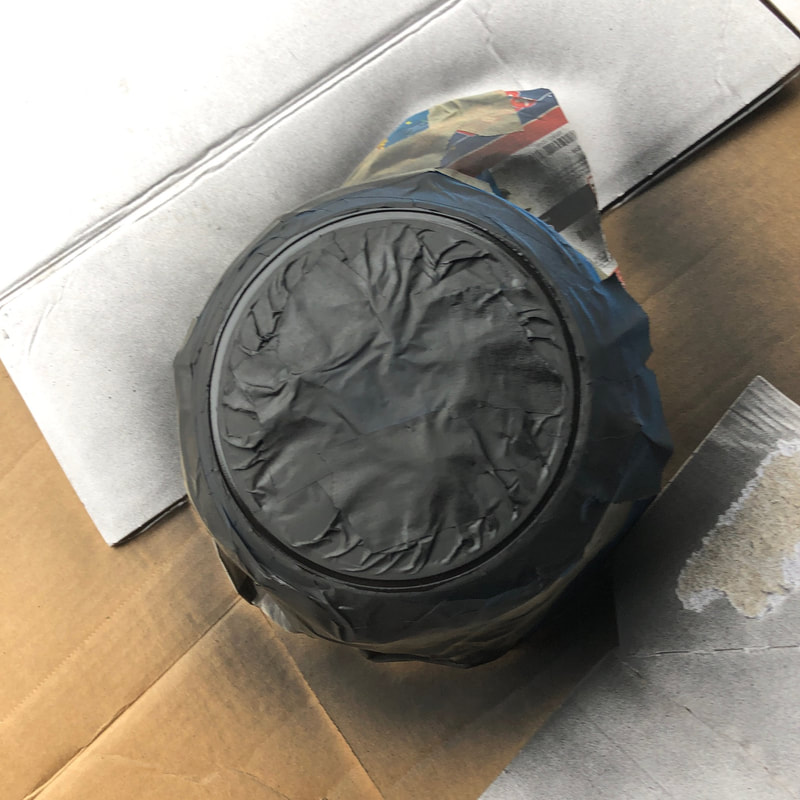
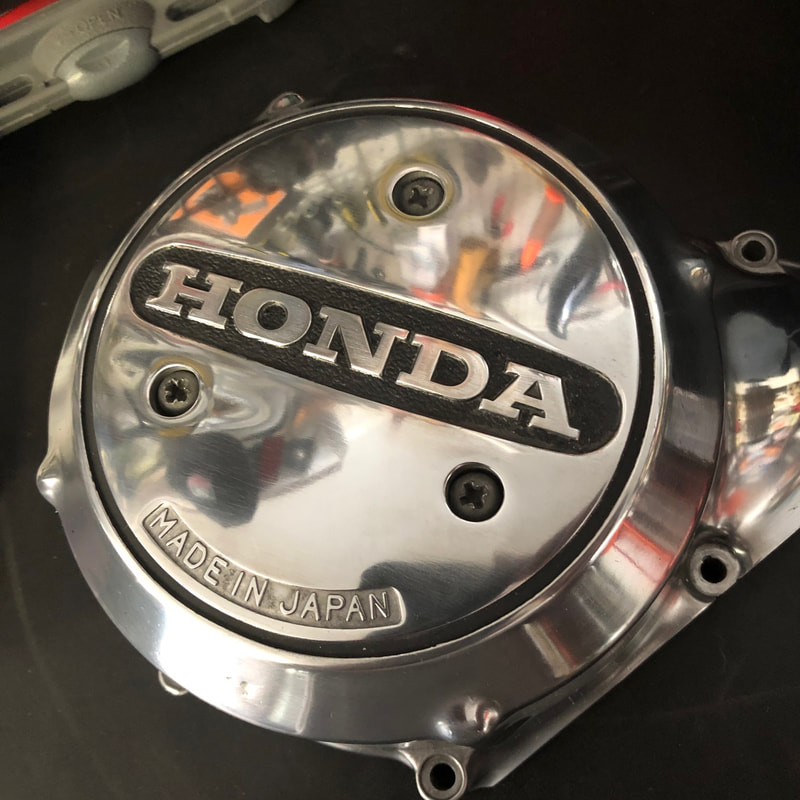
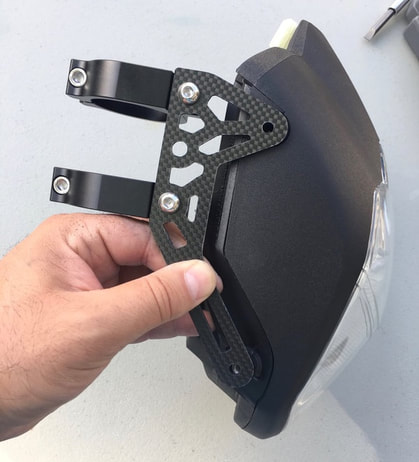
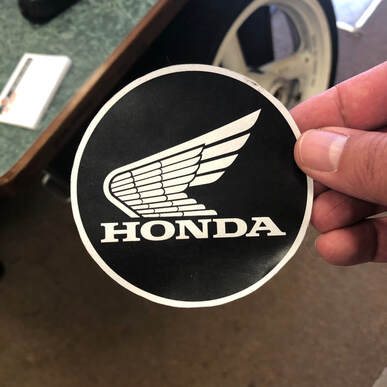
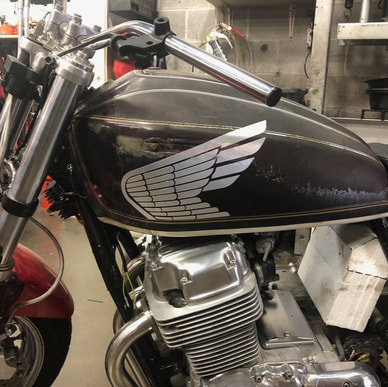
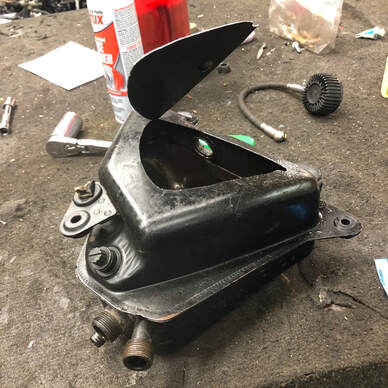
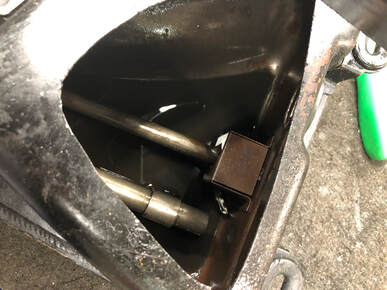
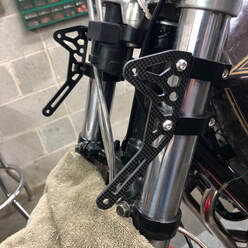
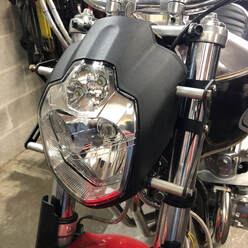
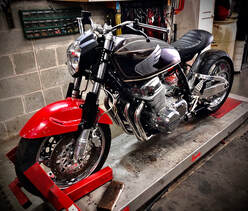
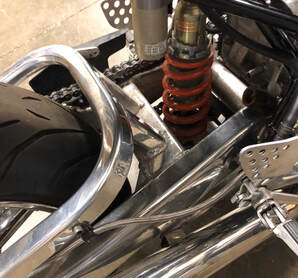
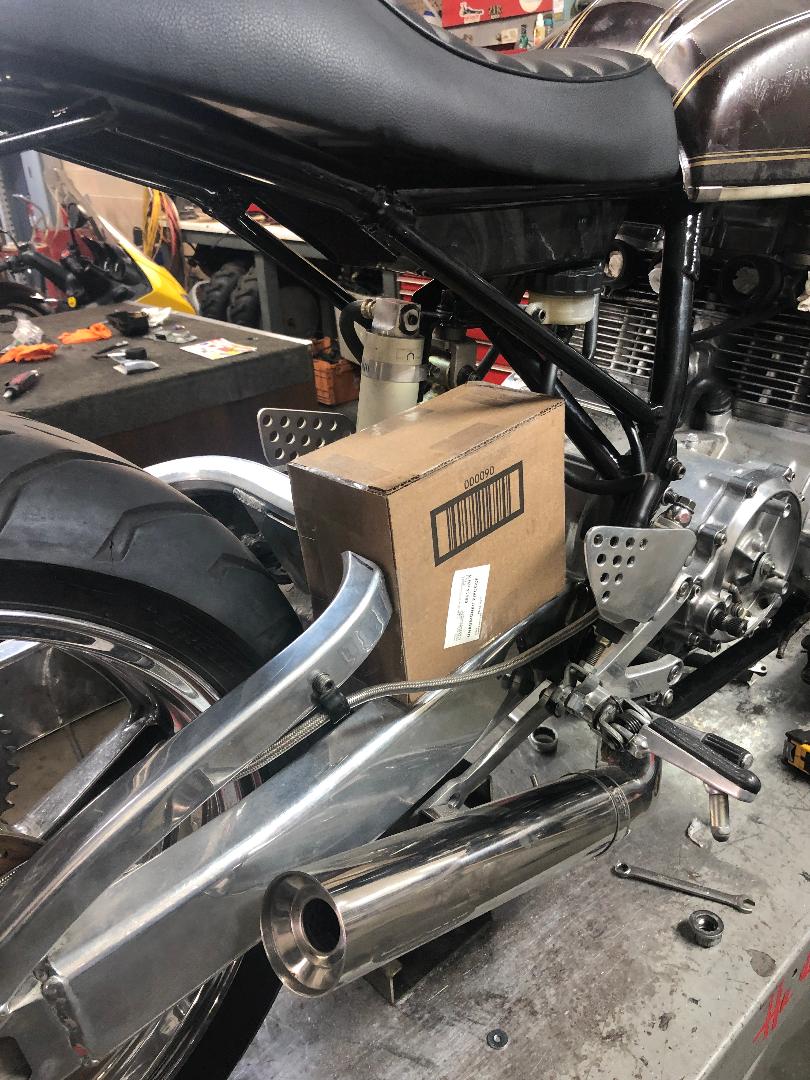
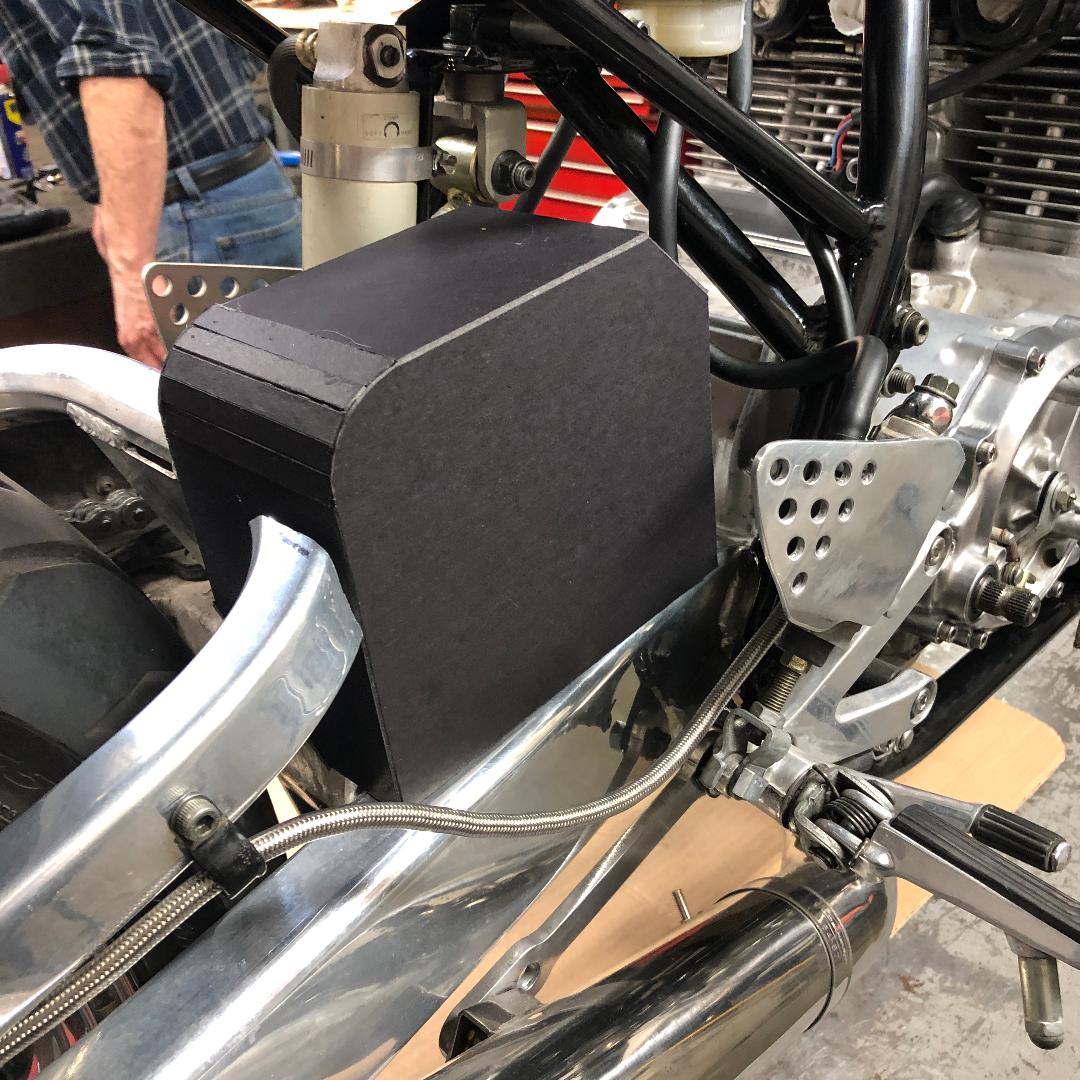
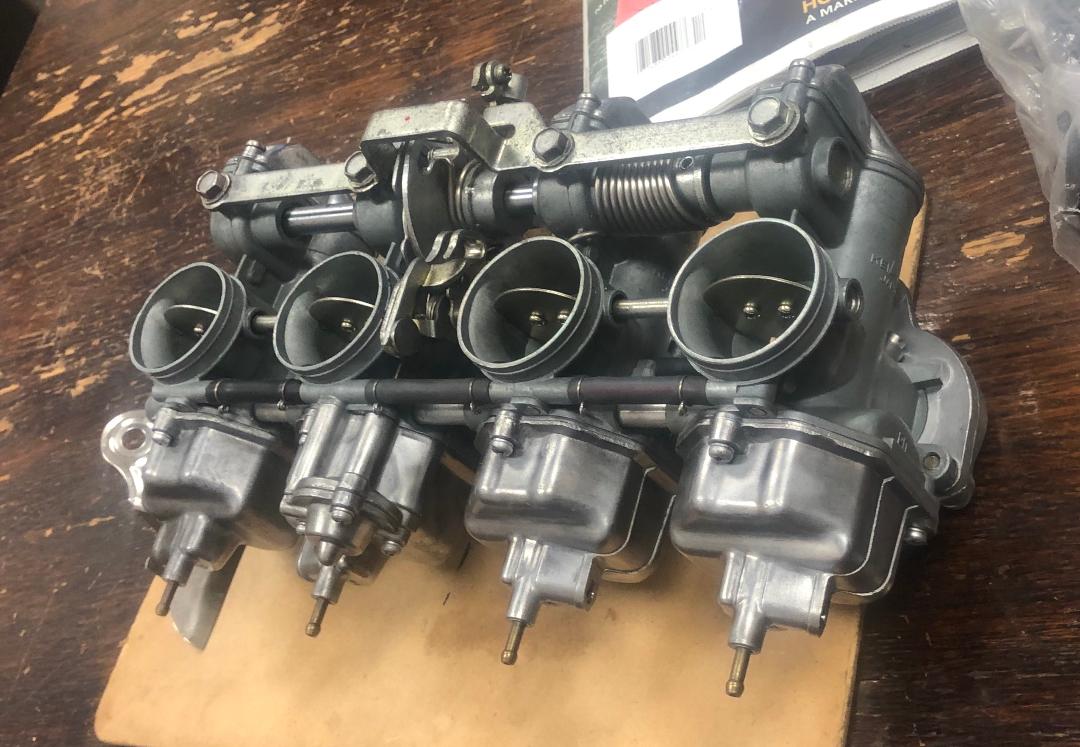
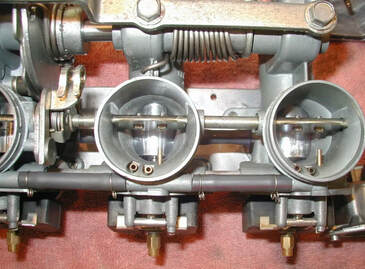
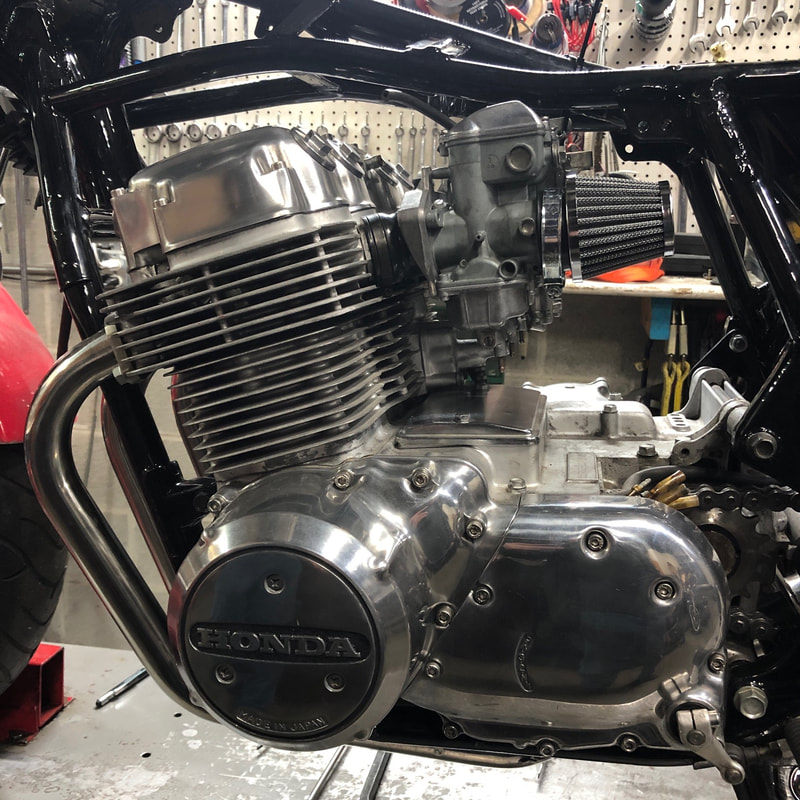
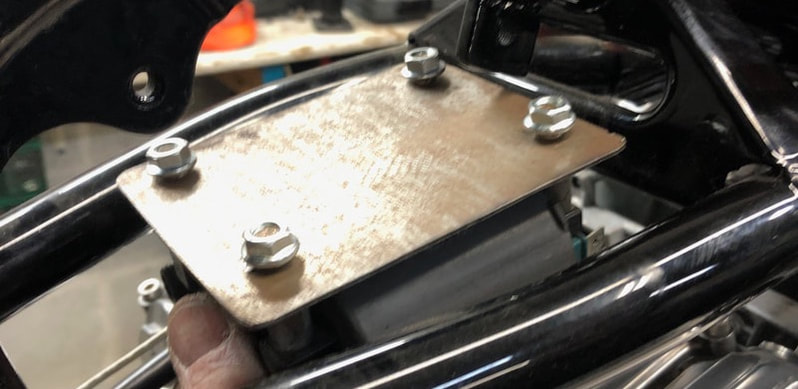
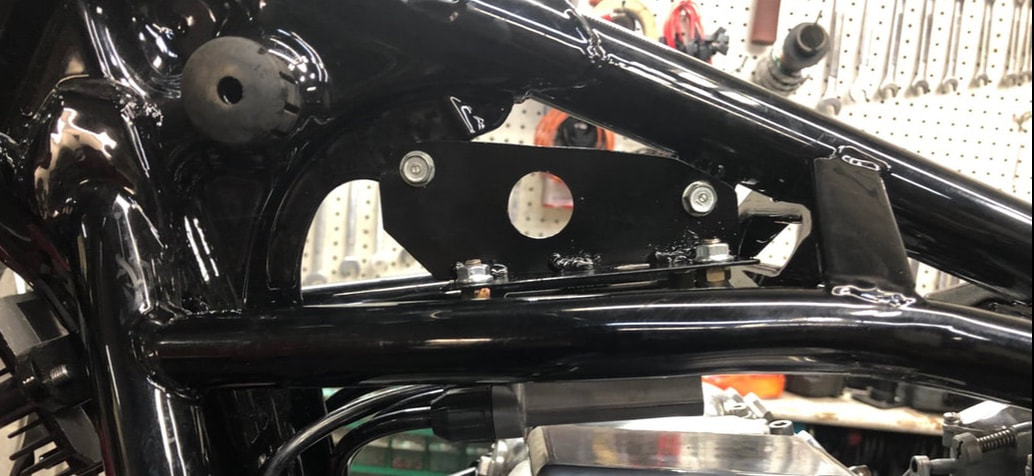
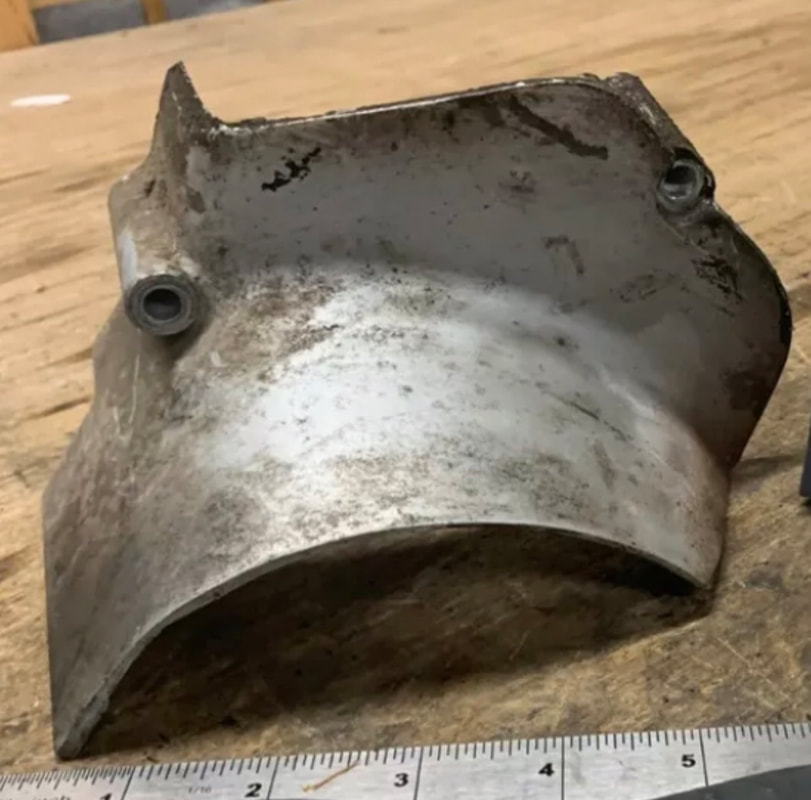
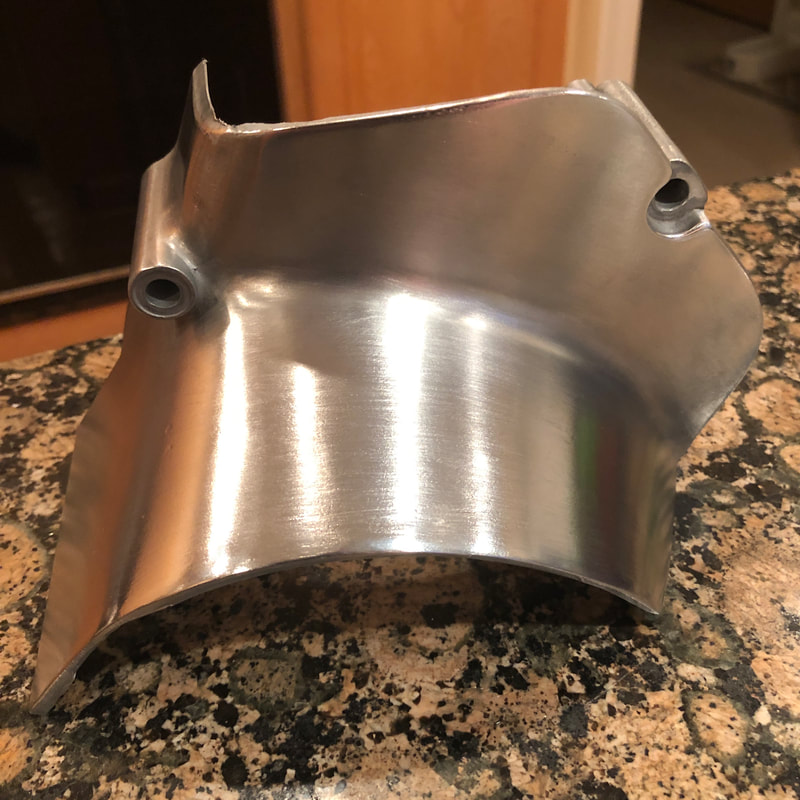
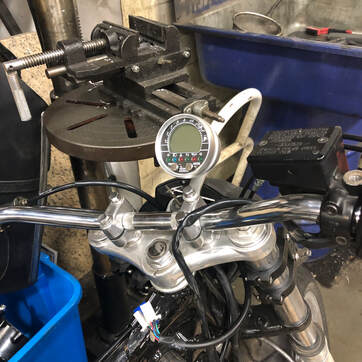
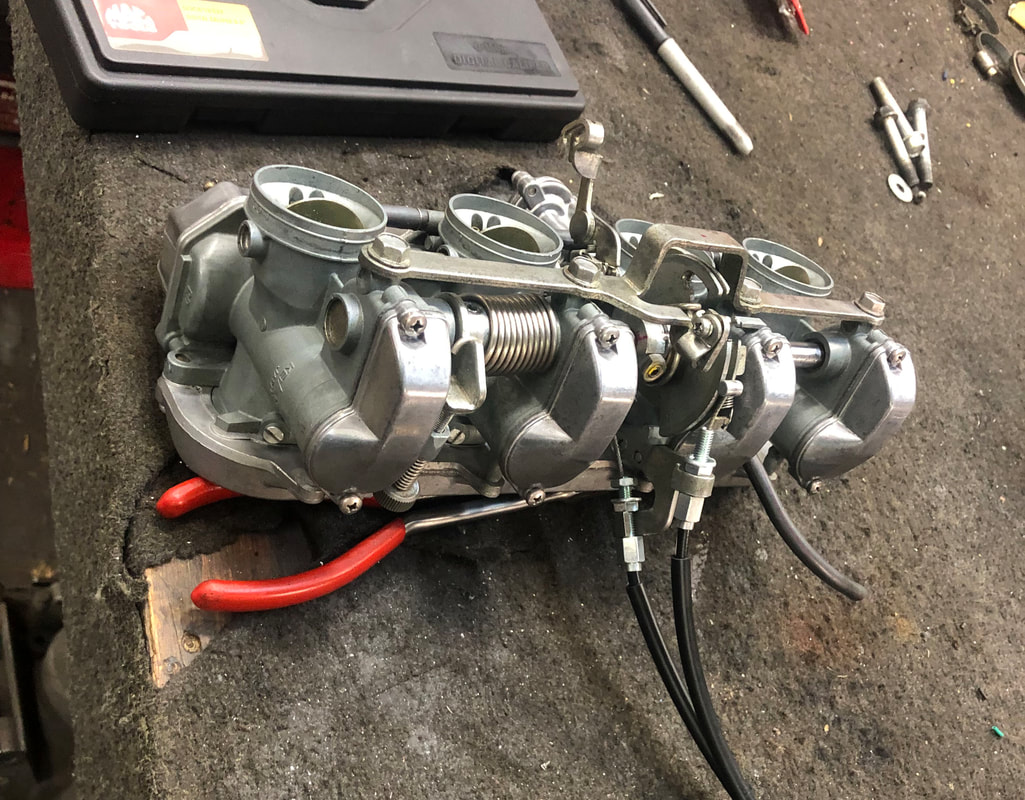
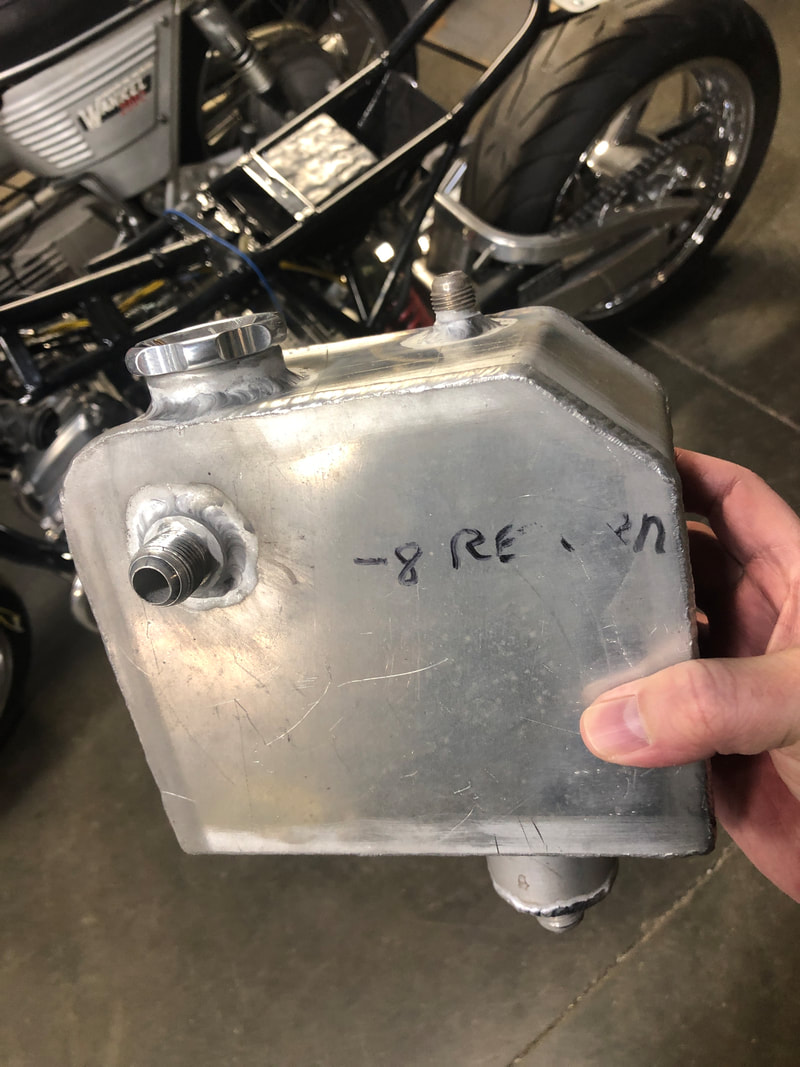
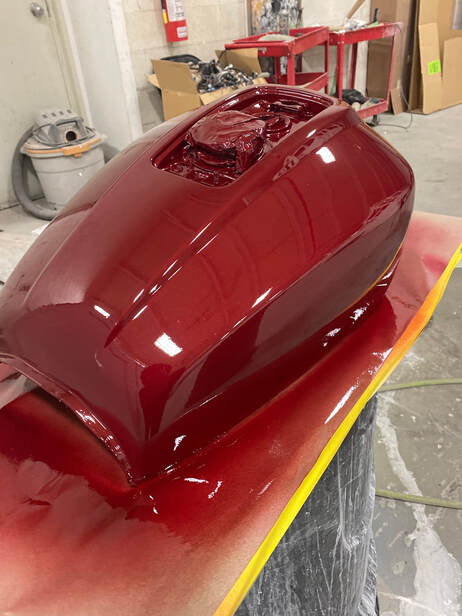
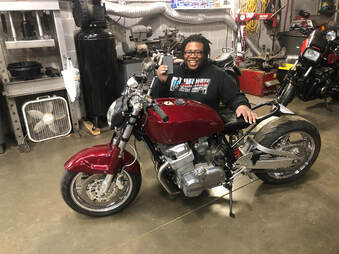
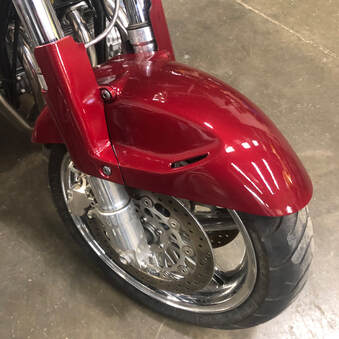
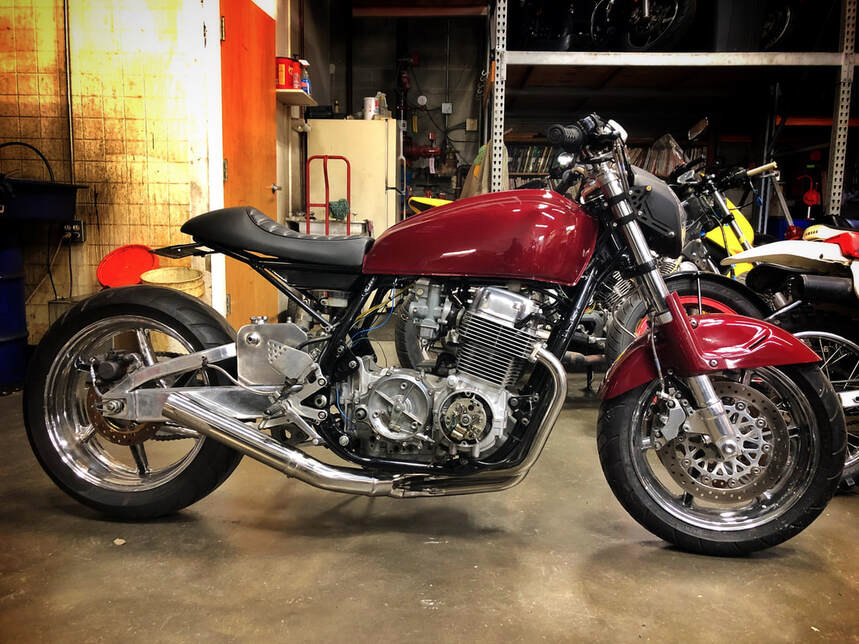
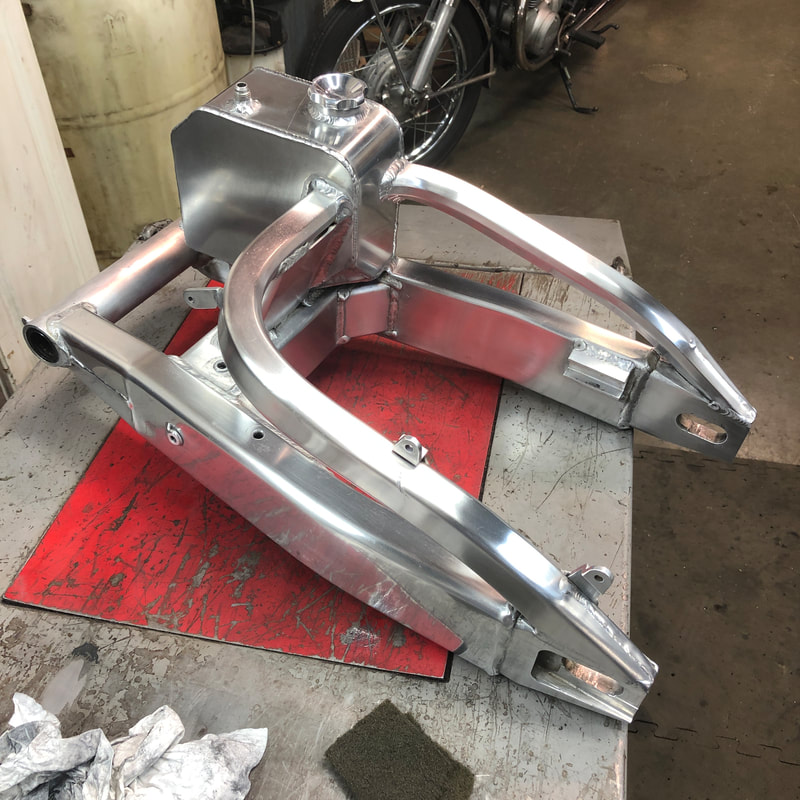
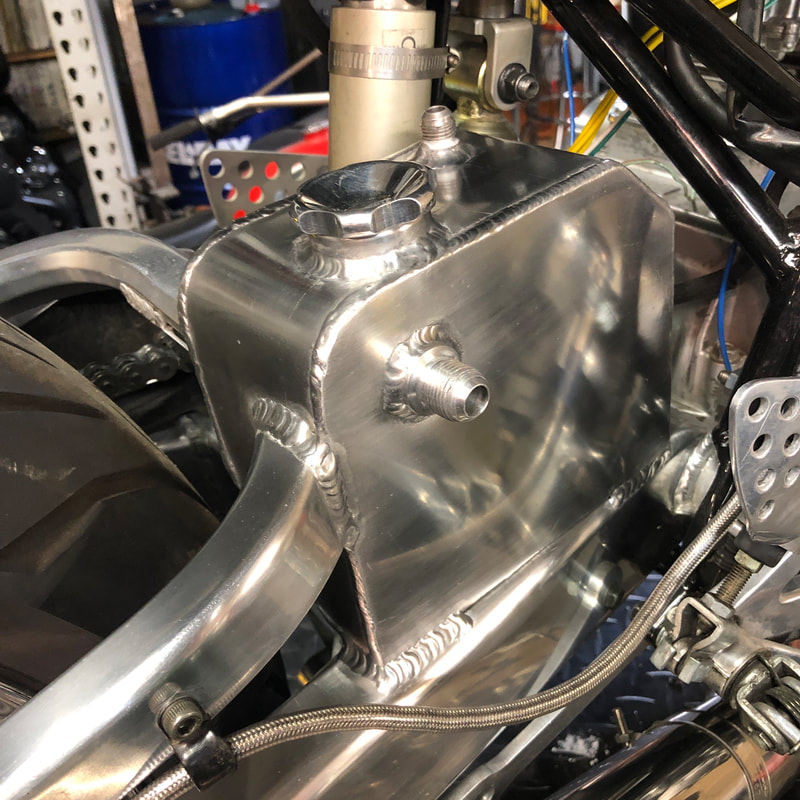
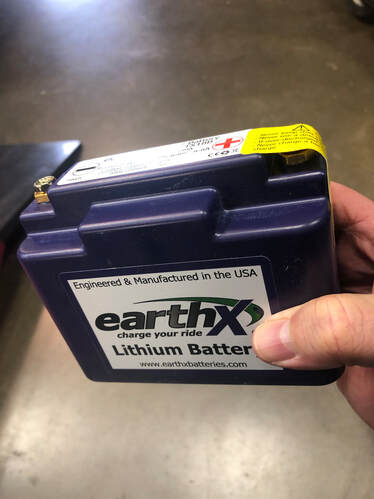
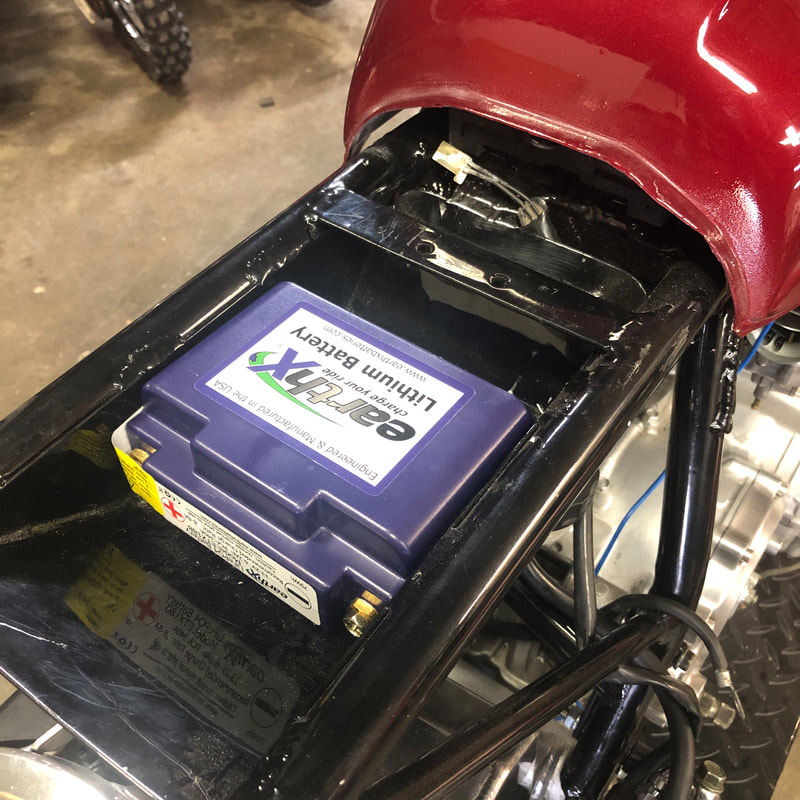
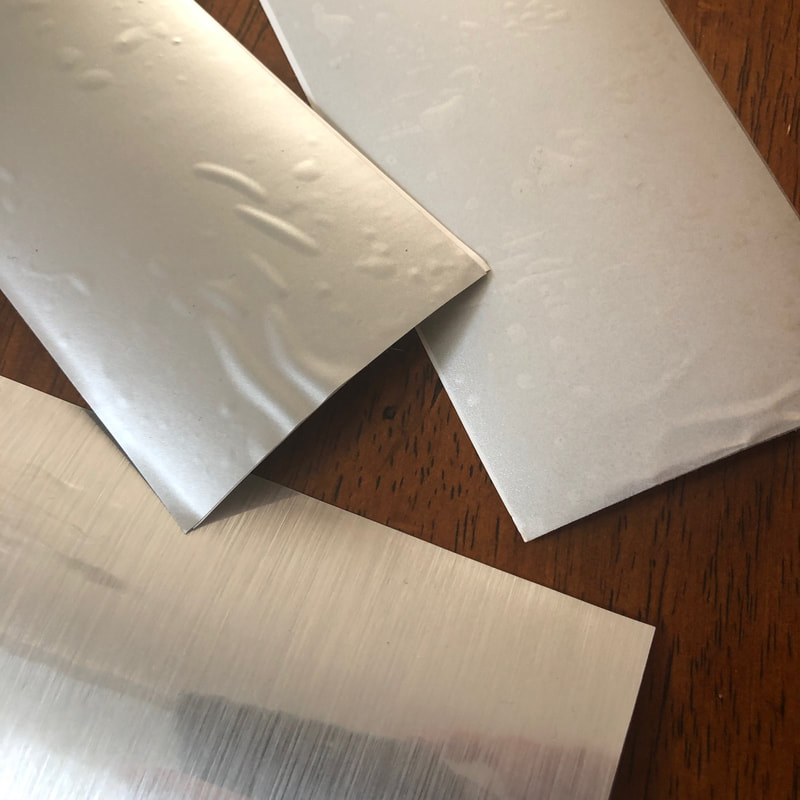
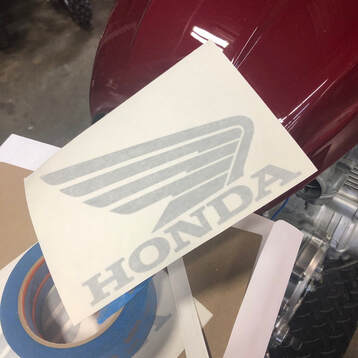
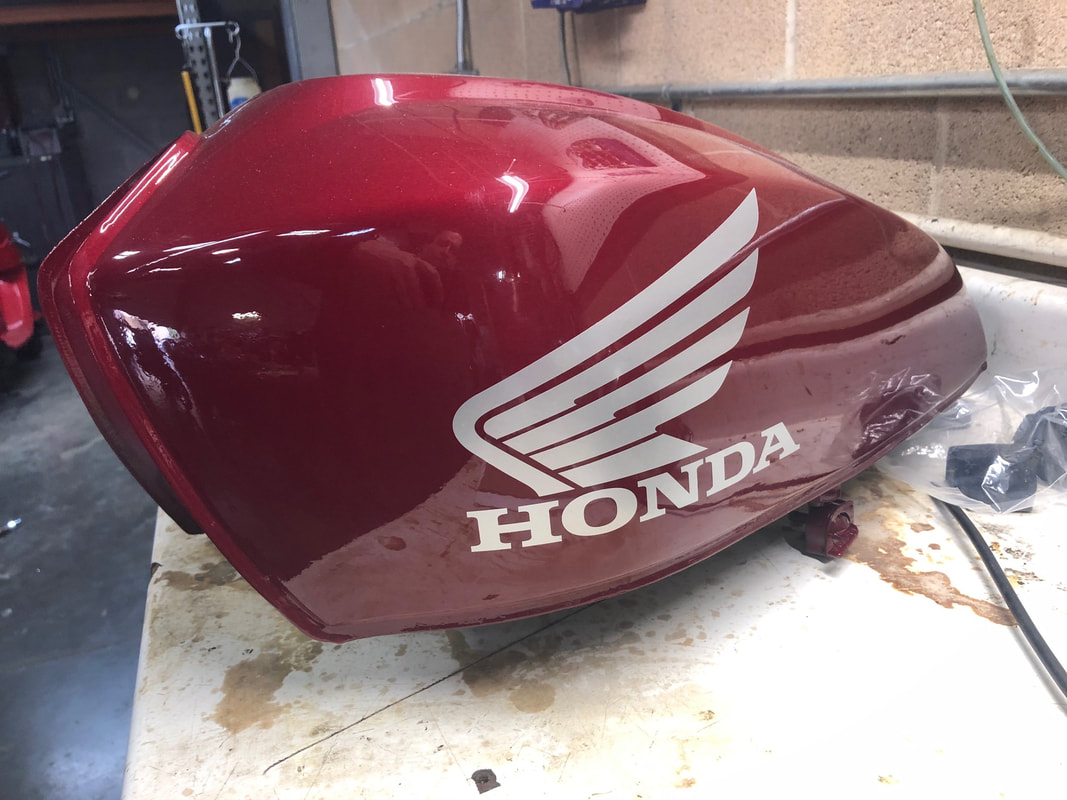
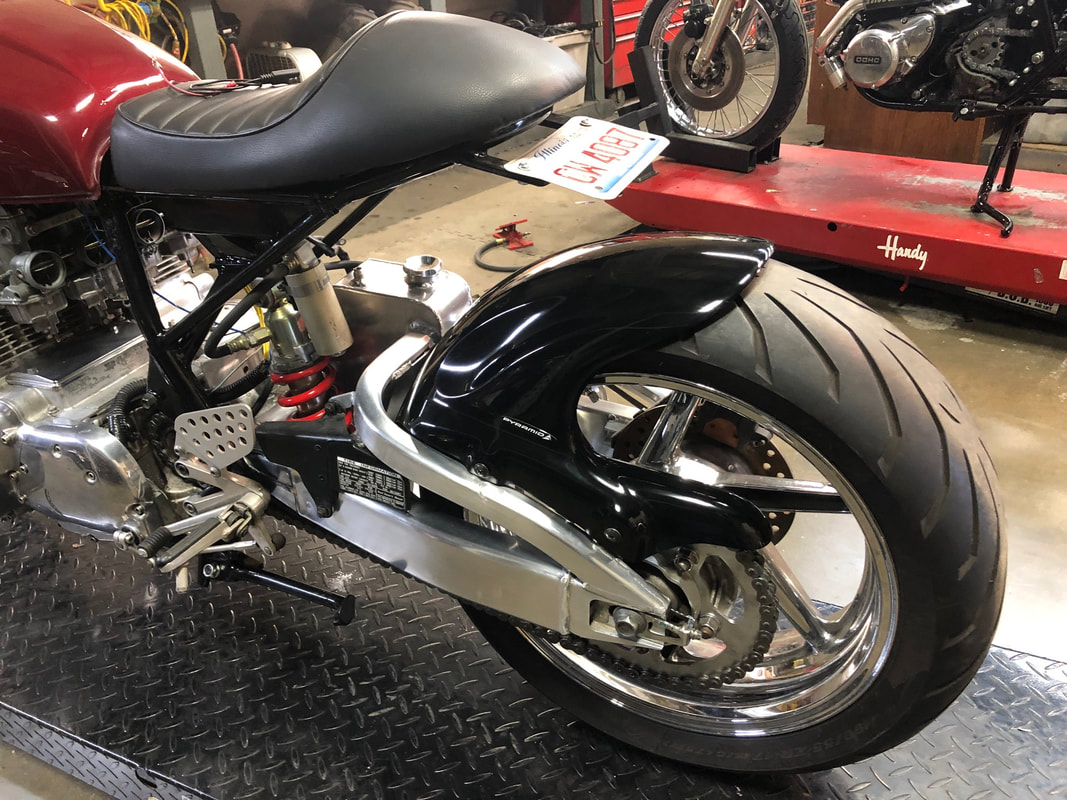
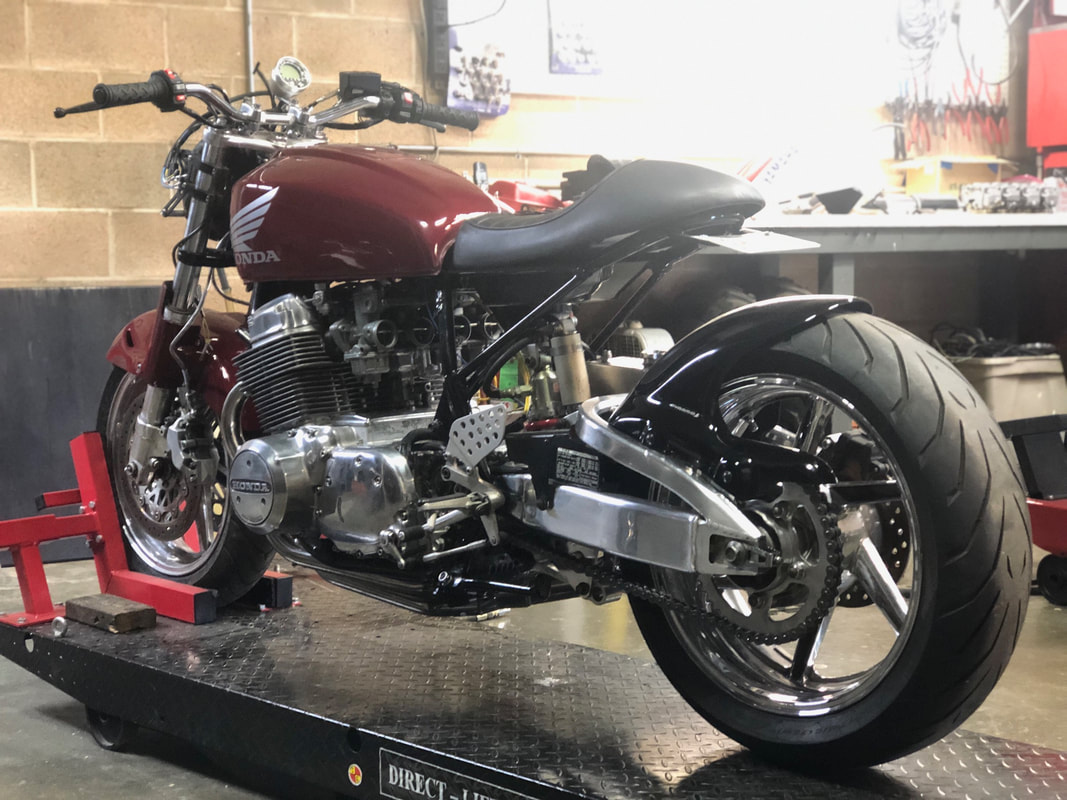
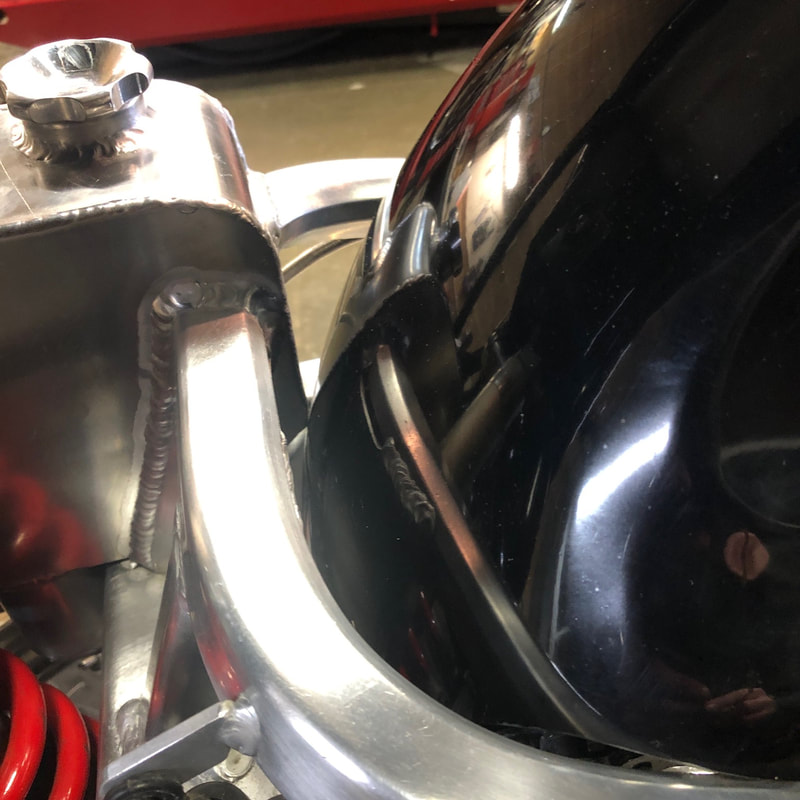
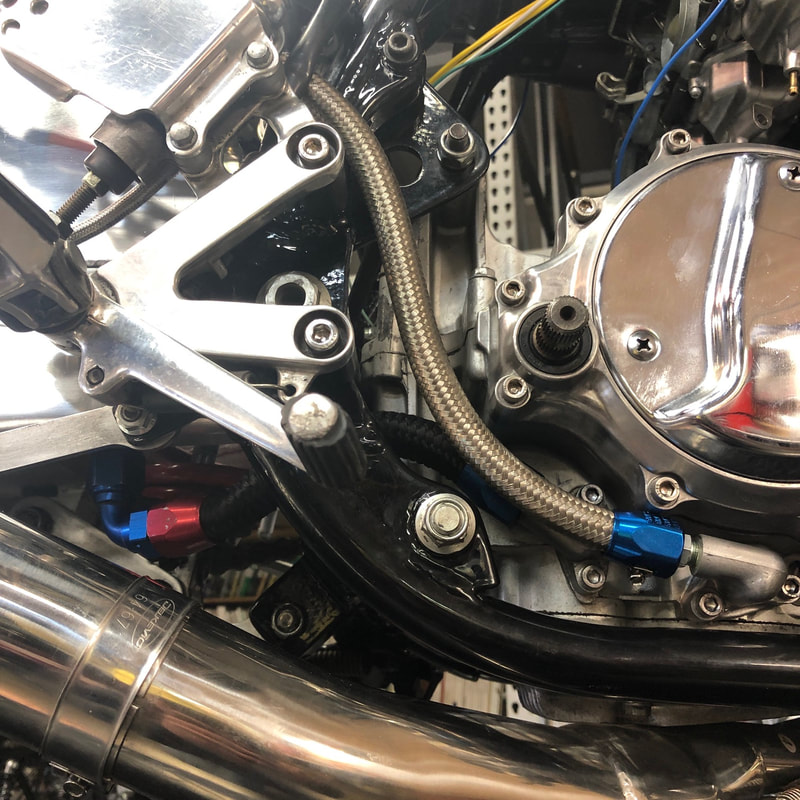
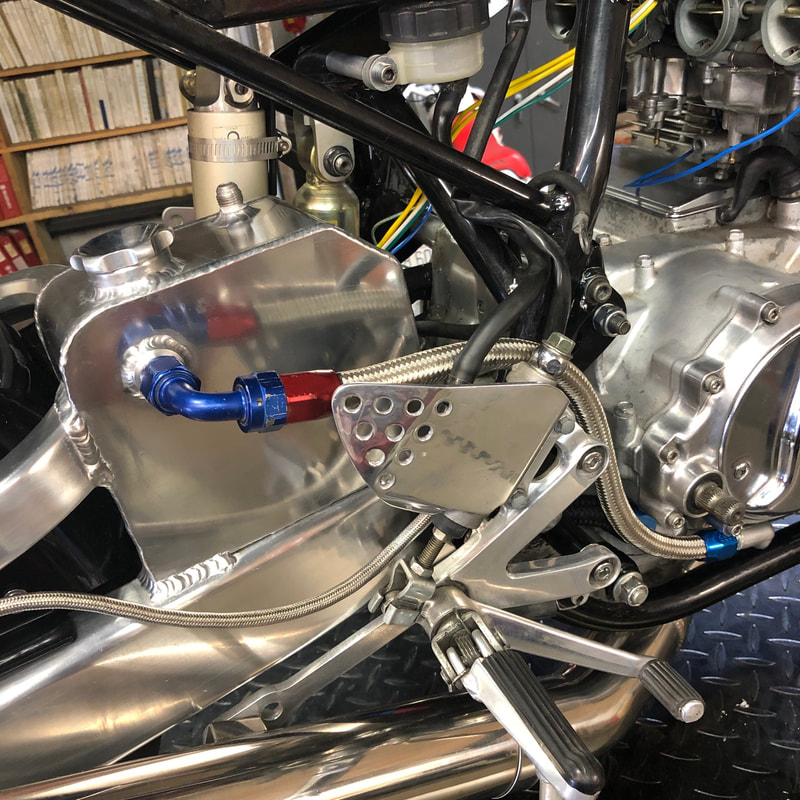
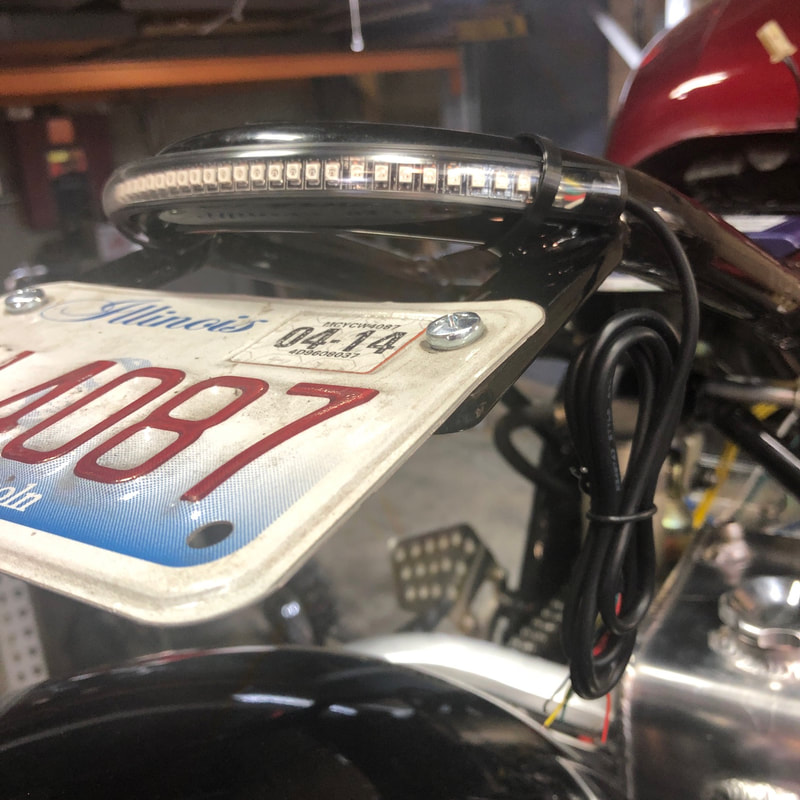
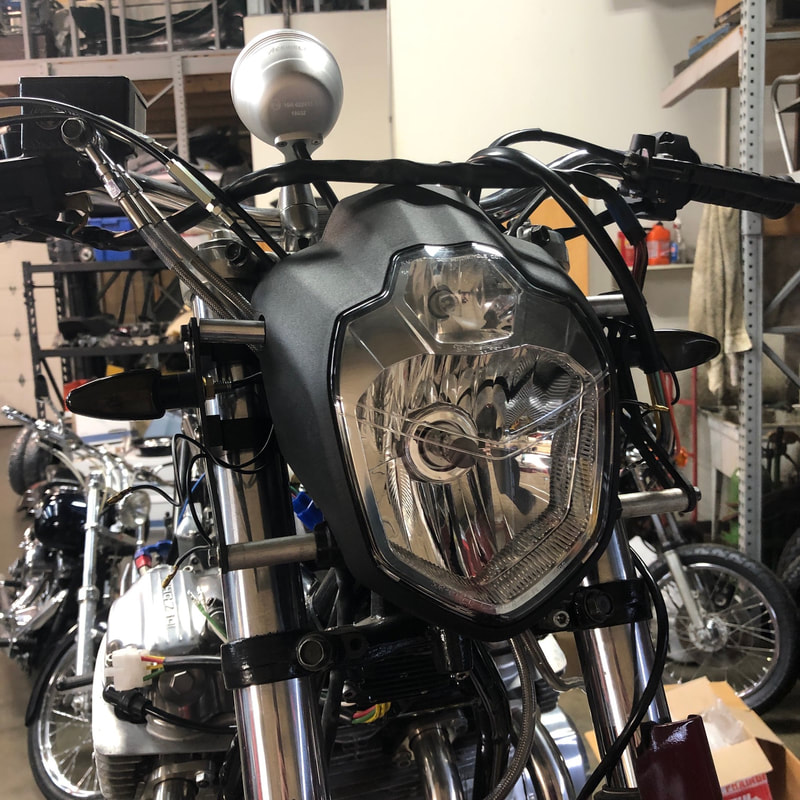
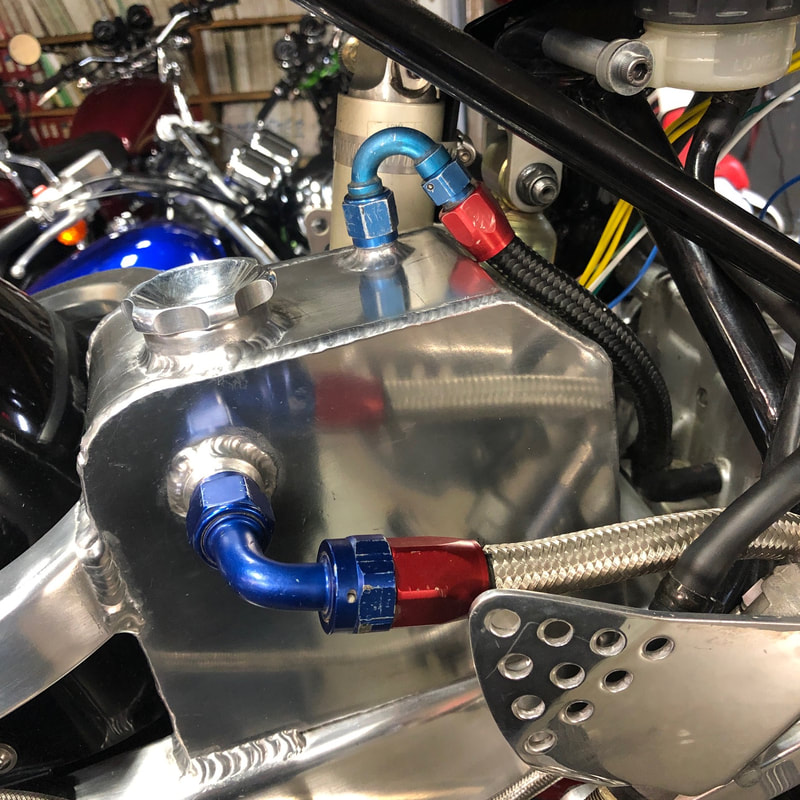
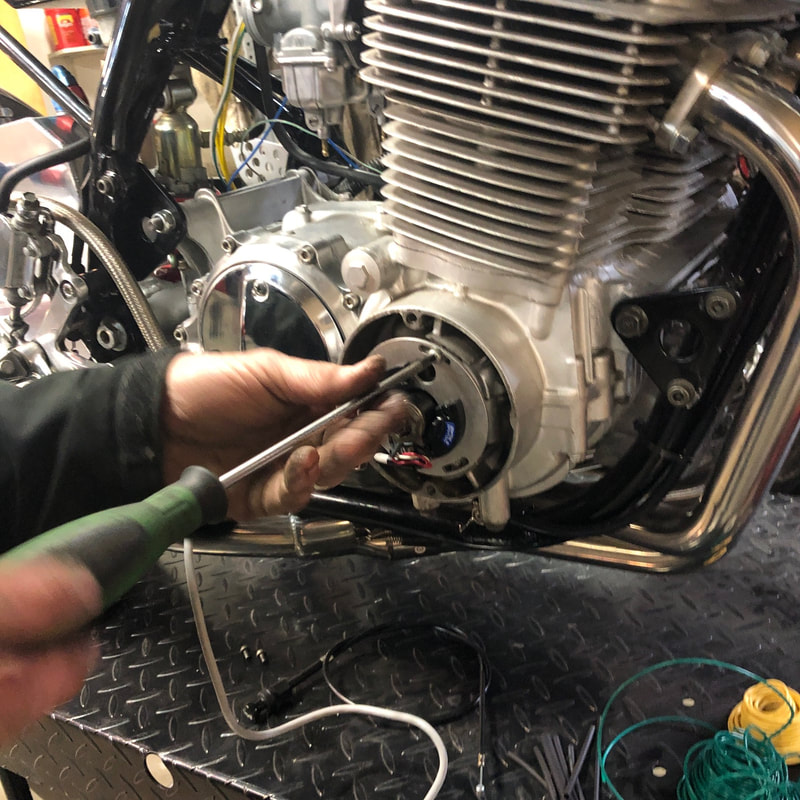
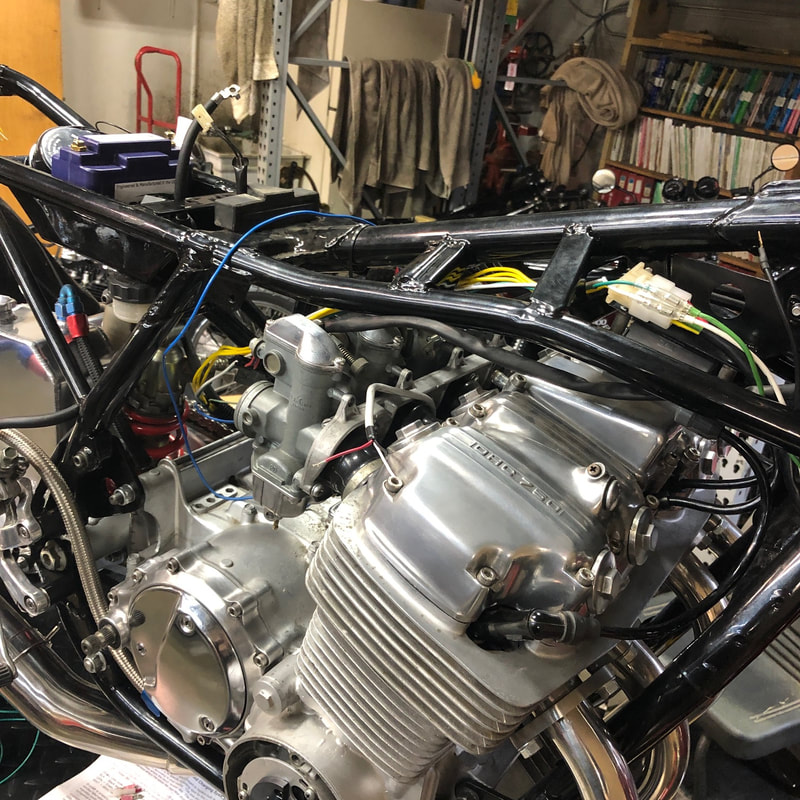
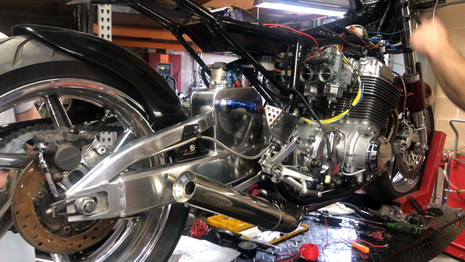
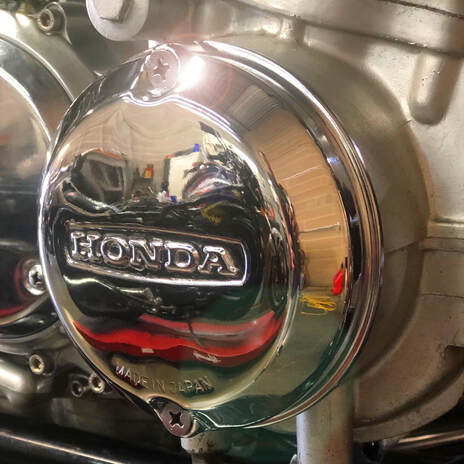
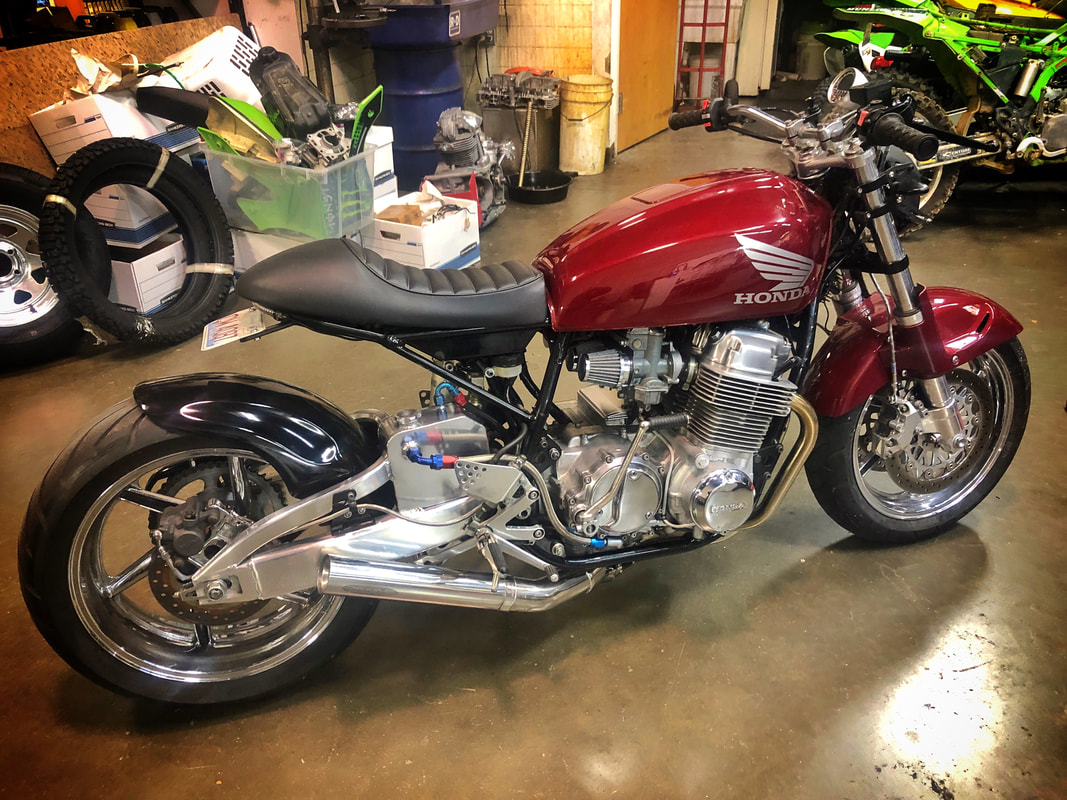
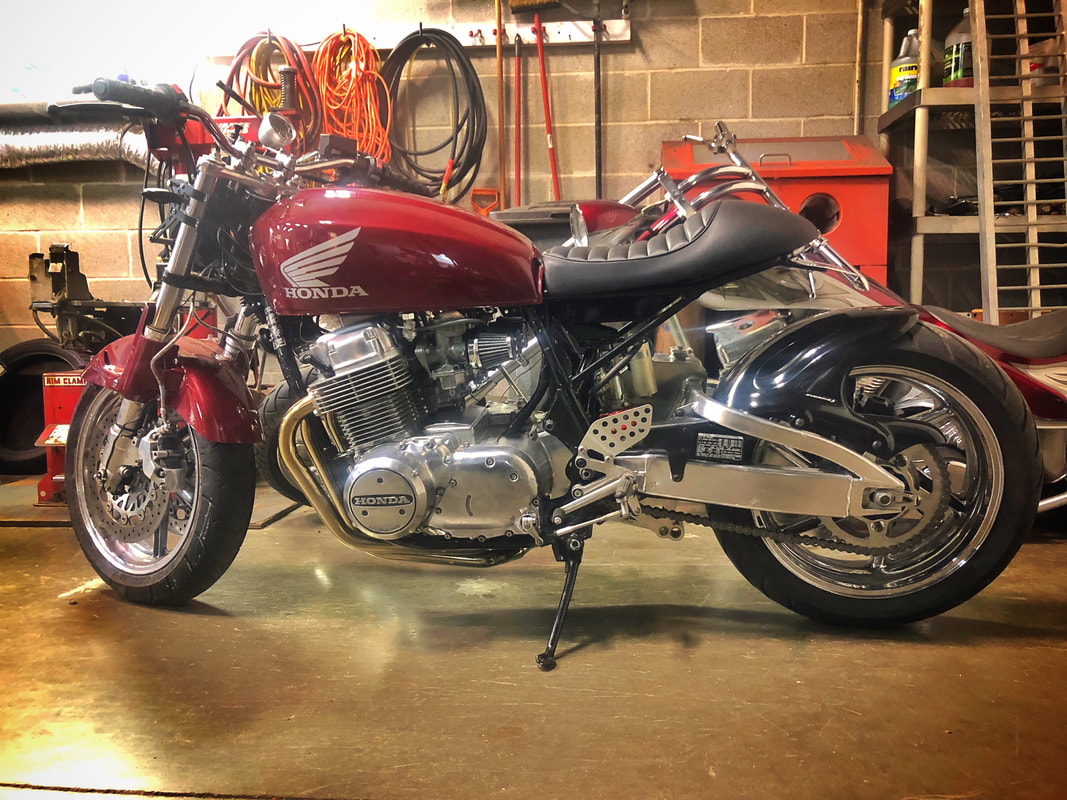
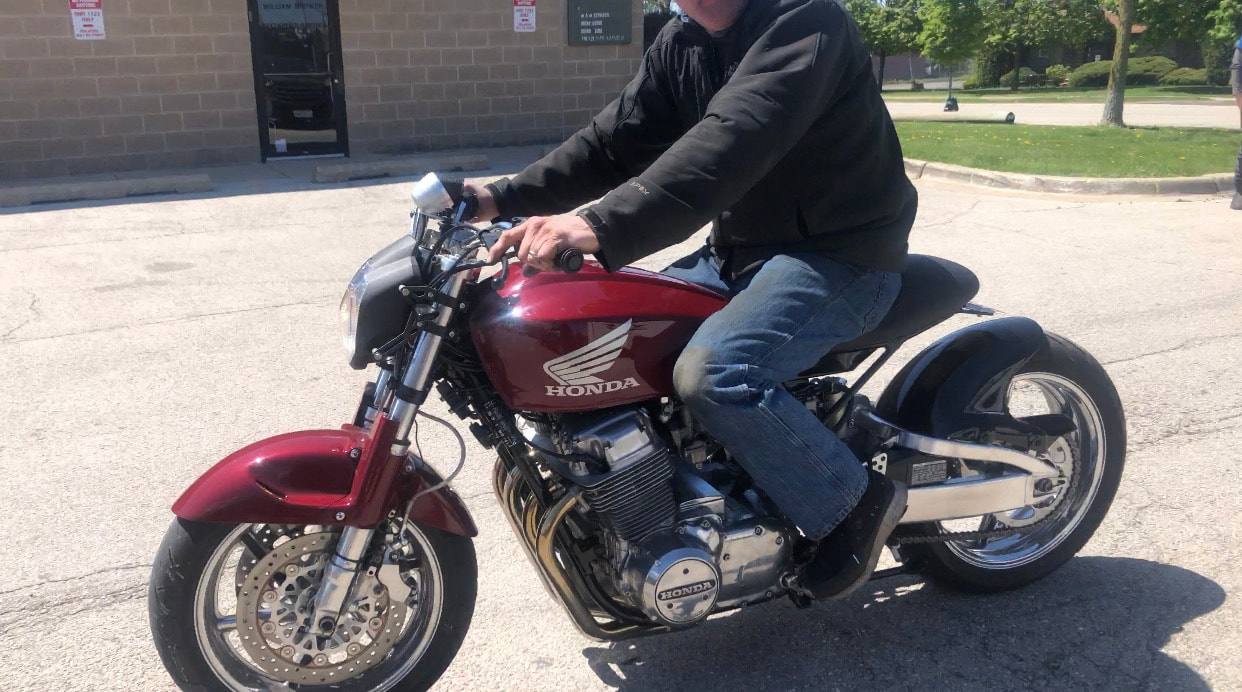
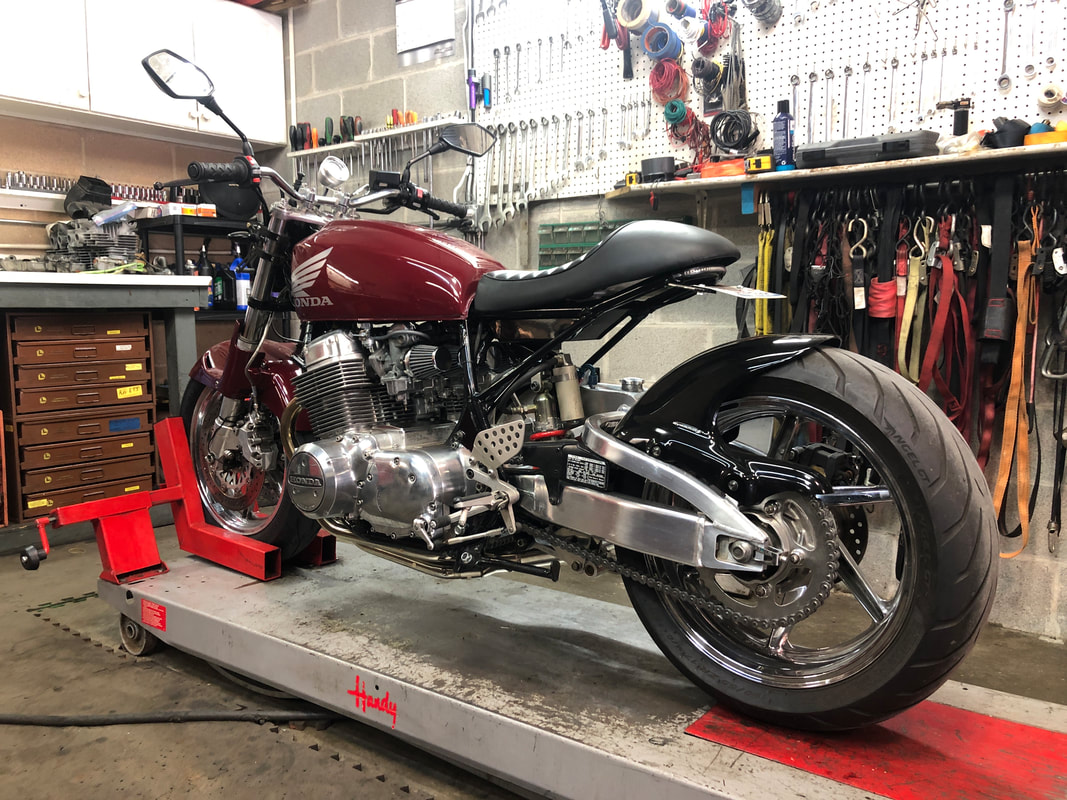
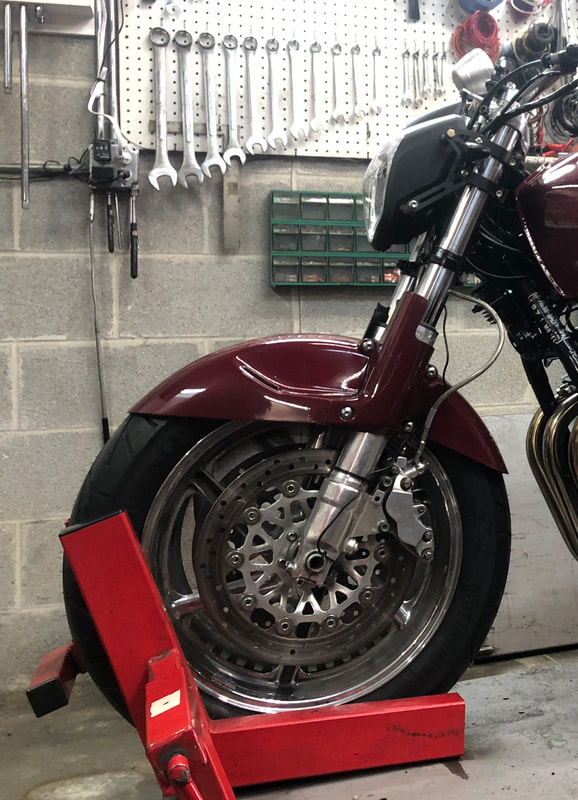
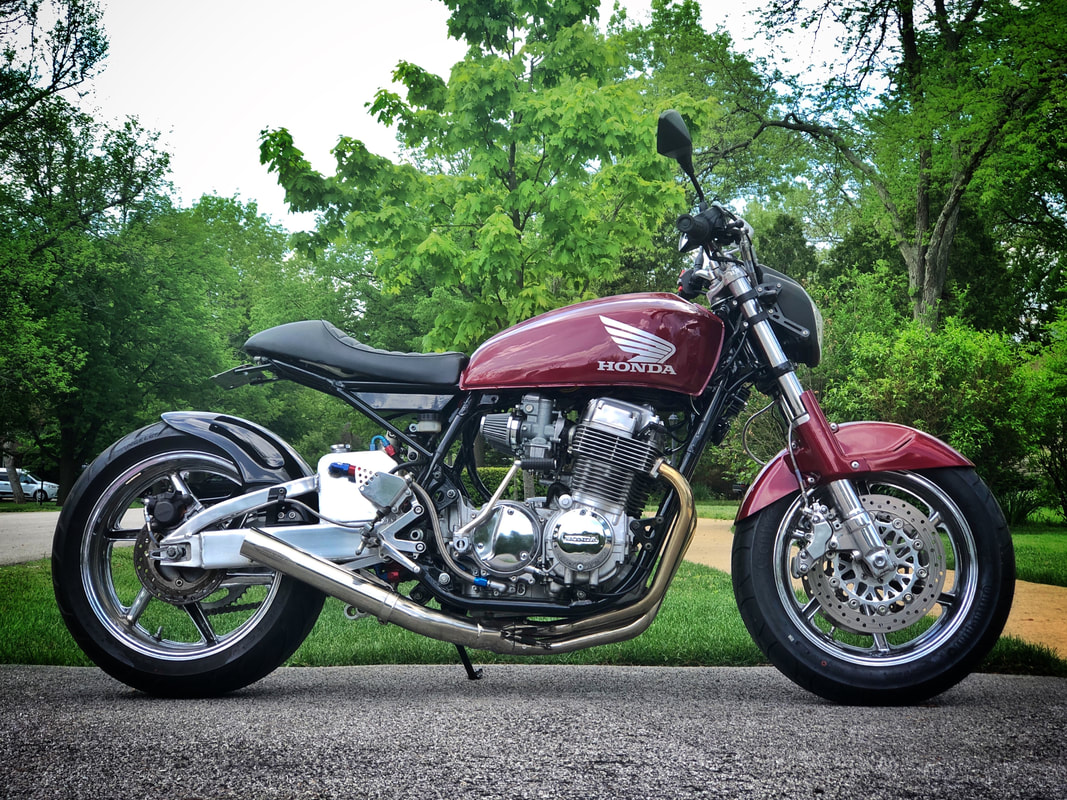
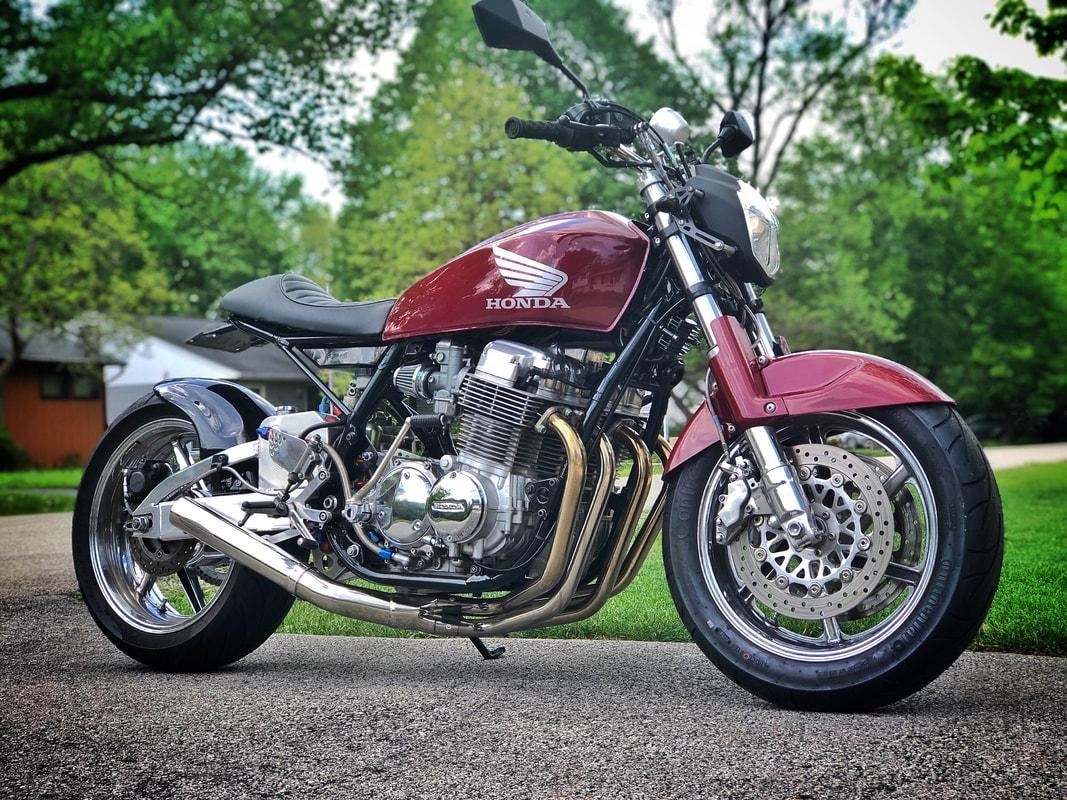
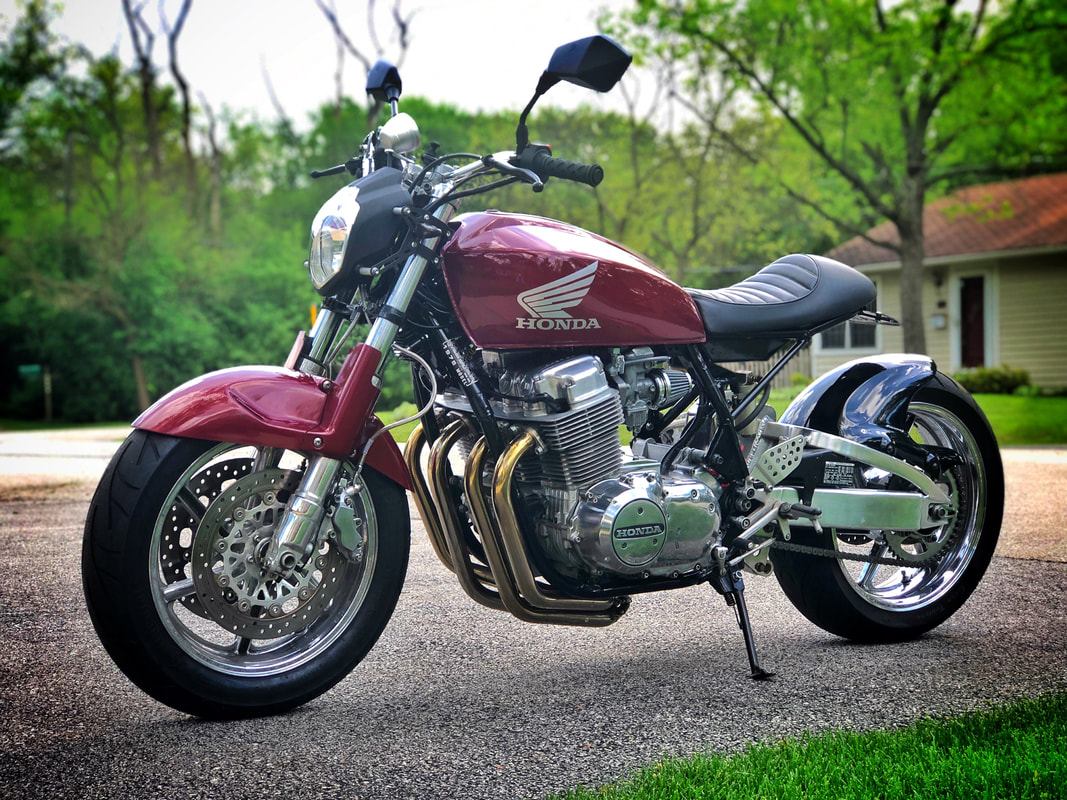
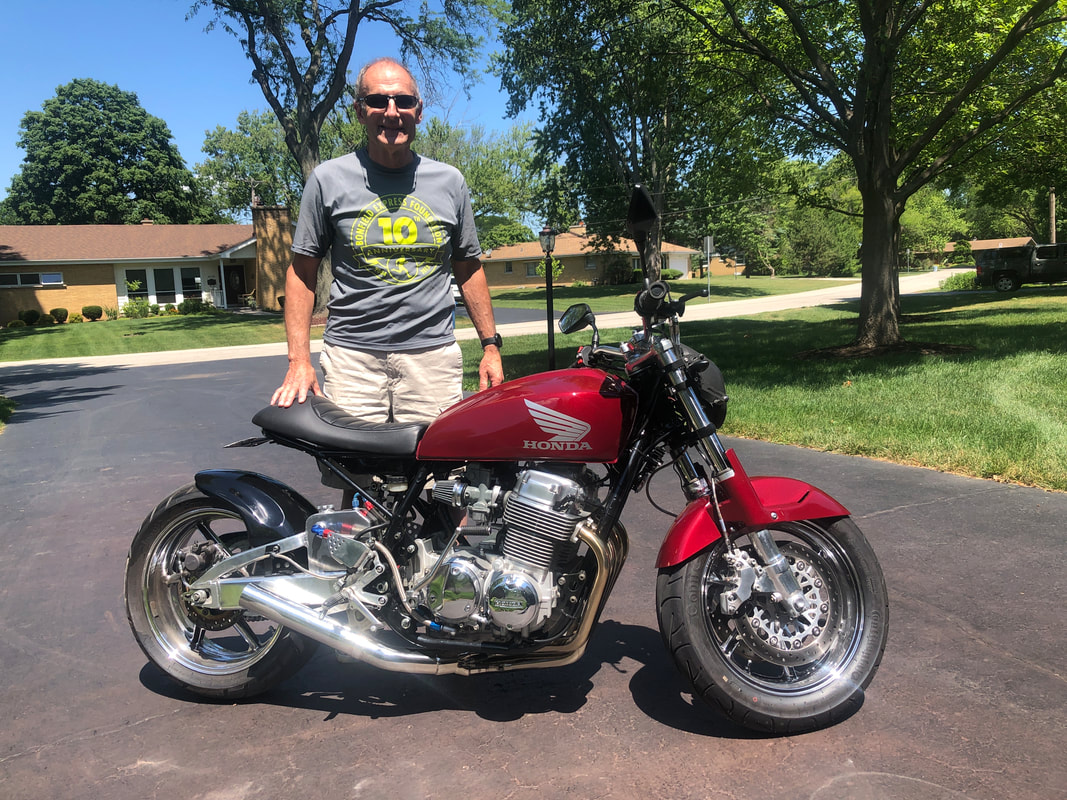
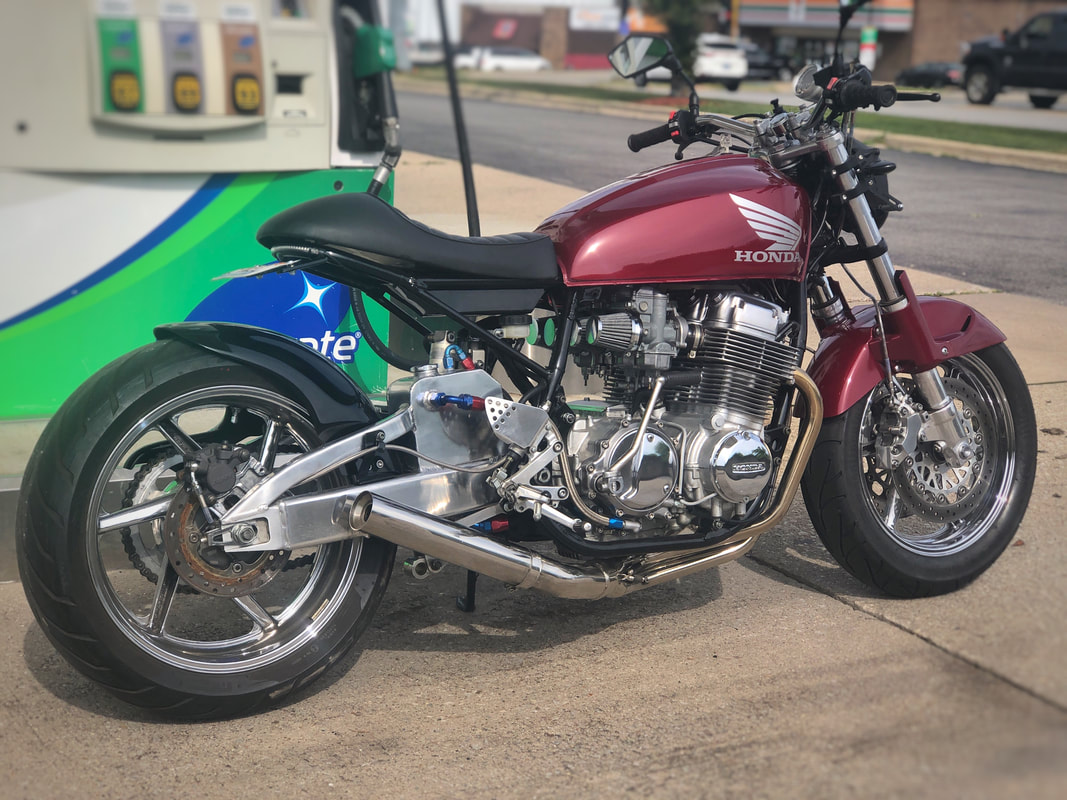
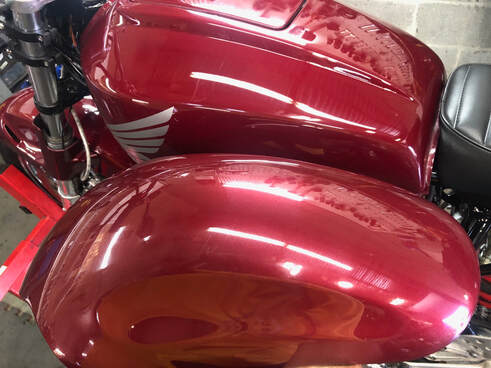
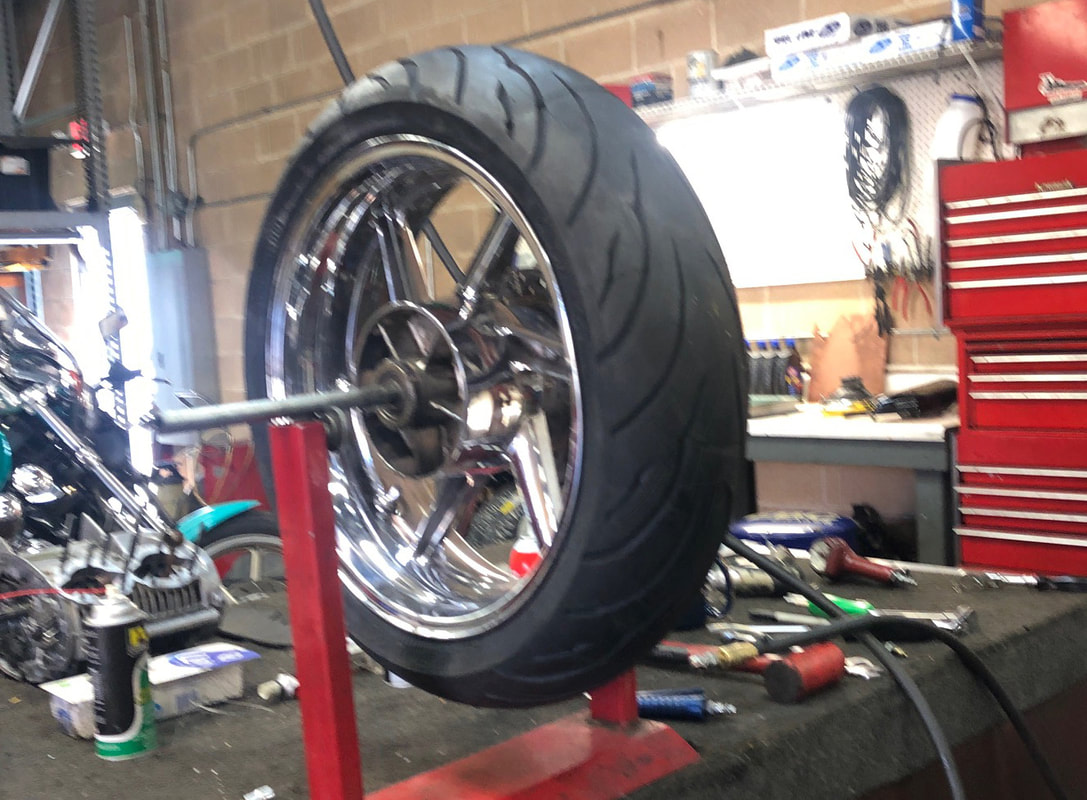
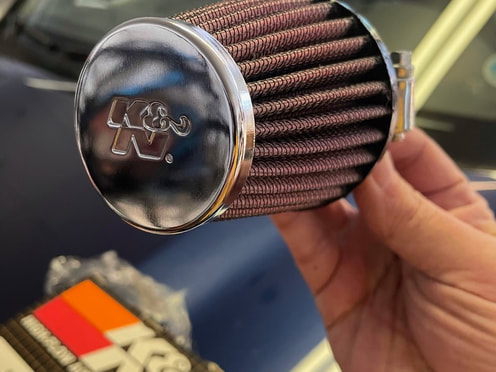
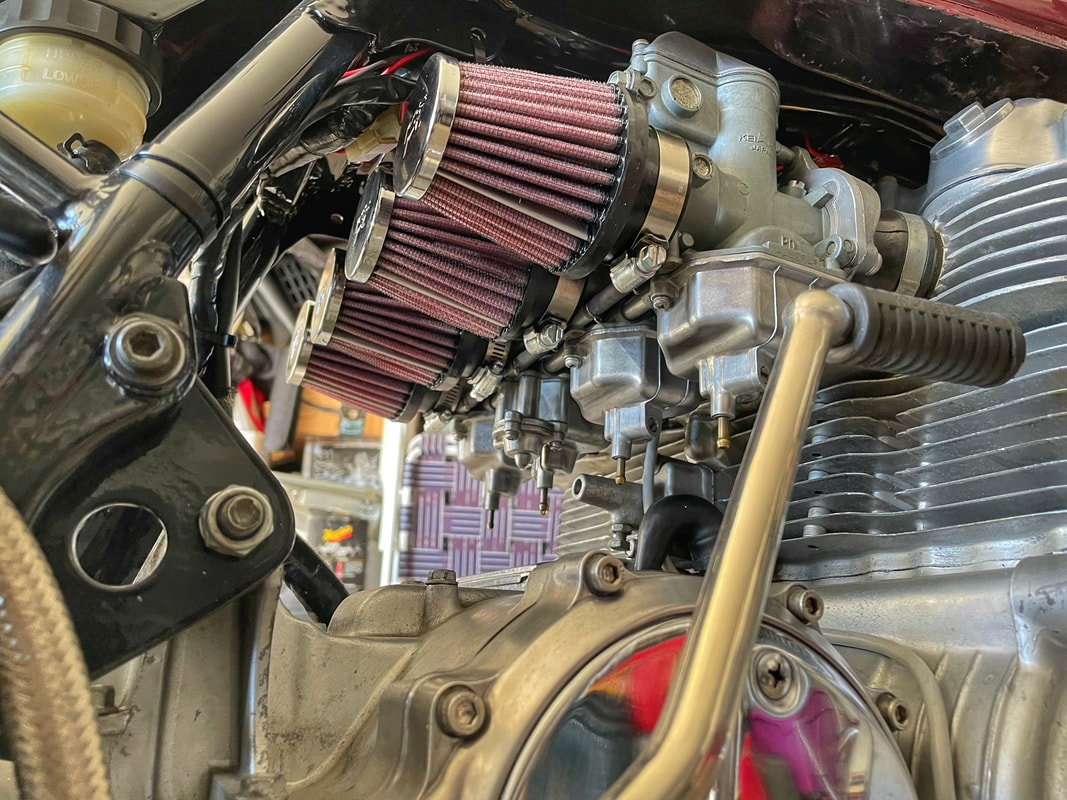
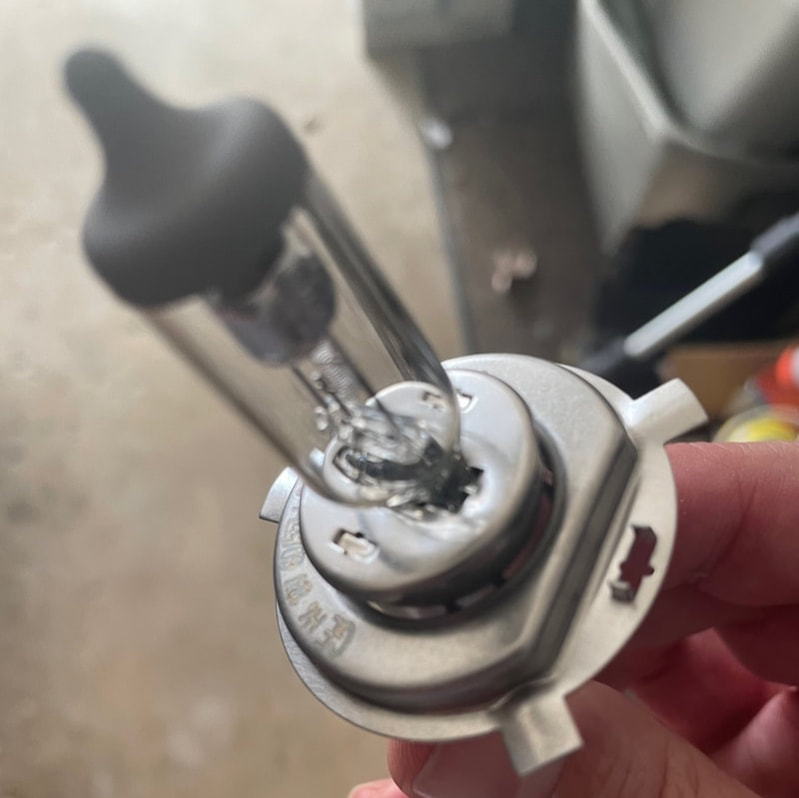
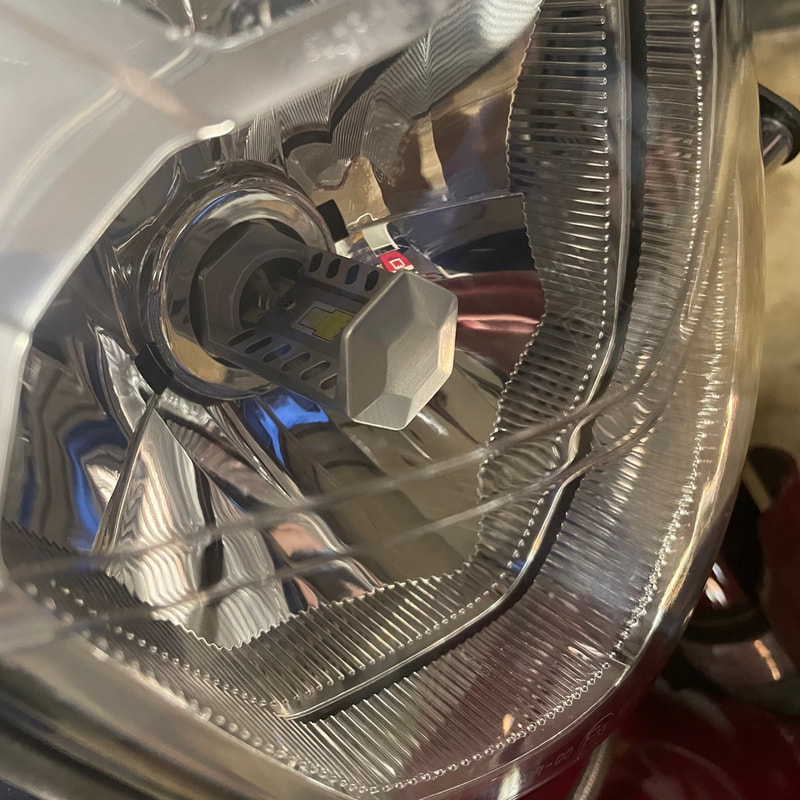
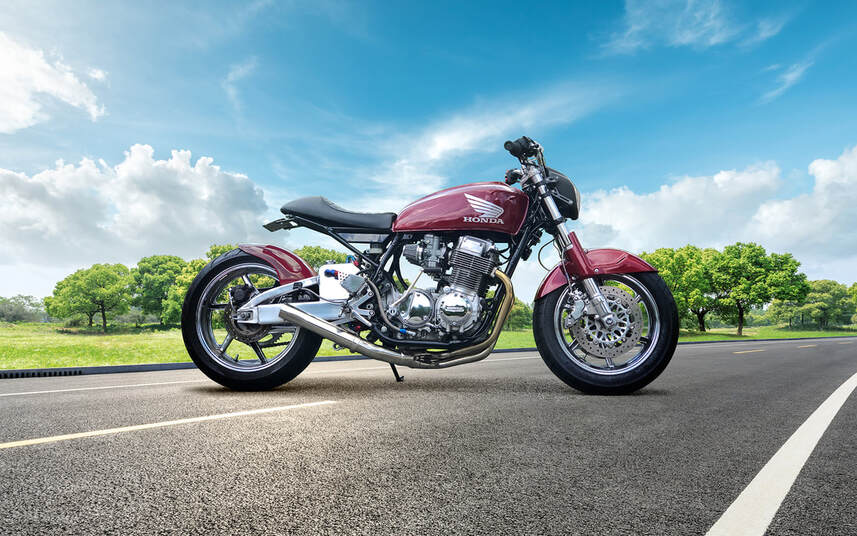
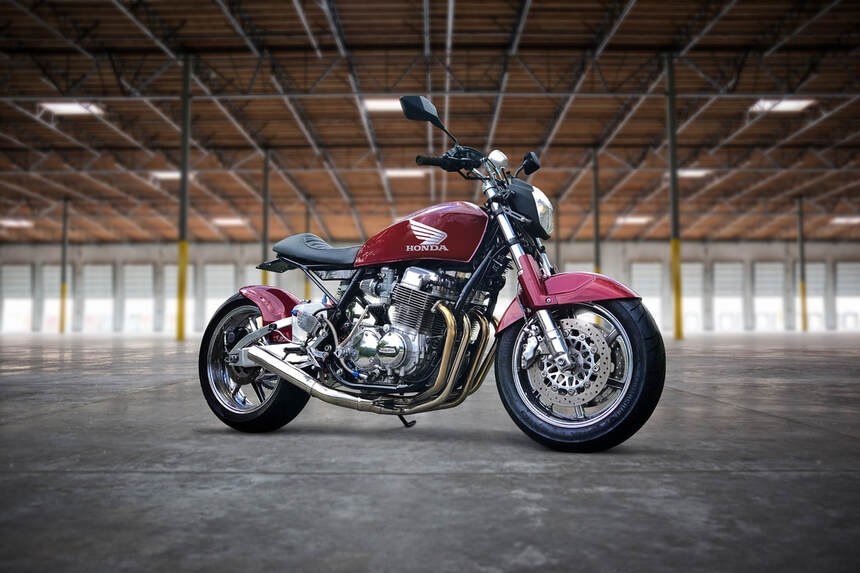
(April, 2018) The initial goal for the project, (led by Mark Smit, owner of M&M Motorsports in Westmont, IL) was to find a 1973 – 1978 SOHC Honda CB and anywhere from 400 to 750cc's, with a motor that at least turned over. This proved itself difficult since these early superbikes - in any condition - get nabbed up almost as quickly as they’re posted for sale. During the search, a customer offered up an old bike to be taken off his hands that had been sitting outside for years, a titled 1978 CB750A. We weren’t looking for a Hondamatic, but with it having a clear title to go along with being given to us at no cost, this was to be our new project bike. (Fall, 2018) Looking at what we had to work with, and knowing this wasn’t going to be a restoration project, logically the choice was to at least use the titled frame. So the next idea evolved, and it was time to find another bike for the rear and front ends to add modern suspension and performance. And we kept the CB750A’s gas tank, steering stem and kickstand. December 2018: We went to a friend’s shop, Albrecht's Fast Track in Des Plaines, IL to pick out a bike with a mono shock swingarm and found a worthy donor, a 1996 CBR900RR. The CBR had its rear and front ends dismantled, and were added to the first initial mockup beginning of February, 2019. We were able to salvage the steering stem from the CB750A to work with the CBR front end. Holes were drilled into the CBR900RR top tree for bar risers. Additional support fabrication for the swing arm was added, as well making the seat hoop - along with support bars for this as well. Supports were added to the frame for the monoshock as well as the hoop. Welds are being done in phases by Mark’s friend, a race car chassis builder (Dennis of High Speed Welding) who’s shop is in the same industrial park which couldn’t be more convenient. At this point, decent headway is being made on the build since the weather has been terrible. Nothing’s salvageable in the A motor, so we used its cases for the mockup, and eventually got our hands on a 1978 K motor. We still need to fab up the battery tray beneath the seat. Once that’s done, and any tabs that may have been forgotten in between, all of this and the frame will go off to the powder coater. A Delkevic 4-into-1 exhaust system was fitted up to the K motor, and great to see there were no clearance issues with the right side foot controls. A fab’d bracket will eventually be added to the frame for muffler support. The bike was torn down completely again with a few more added spot-welded tabs and brackets, while final welds should complete the frame. The frame went off to powder coating for a few weeks while I worked on wet sanding and polishing all the covers that need it, and some desperately did. The points cover was shot, so a new one was purchased. I found a whole new level of respect wet sanding/polishing. Amazing the amount of hours that are quickly burned up. The frame came back on May 3rd. what a stunning powder coat job from Lo Ko Coatings in Oak Lawn, IL, and totally worth the wait. Went to the shop first thing the next morning to check it out, as well as brought over the motor covers to polish them up. The plan was to at least put the valve cover on the motor. Not only did that happen, we ended up dropping the motor into the frame, put the front end back on - and then the rear end. Completely unplanned, we had the time and made the bike a roller on May 4, 2019. I took the tank home with me to try to get some new ideas for it, looking into a dark red paint scheme now that’s similar to either to either Honda OEM Candy Anteres Red or Candy Alpha Red. The OEM badges that I ordered (that are not so perfect but better than the ones I have) can be touched up. The better replicas I bought have screw holes that won’t line up with the tank. Glad those only cost me $12. They’ll make nice beer fridge door magnets. I’m holding onto the stator cover which still needs sanding work and high temp flat black paint in the outer ring and behind the HONDA letters. Before ordering the EarthX battery, I mocked up a foam battery to spec for fit into the battery/electronics tray before the tray was fabricated. Eventually it will be time to mock up another foam piece that’s equally if not more important, the custom oil tank. At first I was researching A and B oil tank fittings on eBay, damn those things were pricey and even more when sold together with braided lines. So I started looking for oil tanks that had everything attached, and found this one for $30 on eBay. I offered $20 and the offer was accepted. Not in great shape, but parts could easily be salvaged off of it and used again for this project. So back to the oil tank mock-up. We needed to start with an 8x8x3 shape and go from there. Unlike the battery who’s foam shape can’t change, I needed to find foam that we can sand down if needed and consider tab placement to hang in the frame. So it was off to craft store where I found something called Smoothfoam® which is more workable than styrofoam, and stacked 5 pieces of 5/8” thickness that equals 3.125”, glued it all together and had a foundation for a mock up. The Smoothfoam worked great, as it was able to be cut at angles to get the desired fit in the frame. Foot controls and exhaust system are now back on for good. The exhaust baffle is very restrictive so we only kept about 2” of the total 10”. Cut and grinded out half of the hanger tab since we won’t need all of it (looked really clunky) and also need to attach a fab’d bracket. Finished the sanding, polishing and painting of the stator cover. This piece alone took the most time of all the covers, over 30 hours over 4 weeks time. Since other projects have picked up at the shop now that good weather is in full swing, we took a break after the brake lines were added. And with that, it was time to focus on searching for a headlight. Sounds easy, right? Well, if you try sourcing one that’s streetfighter-style, all you’ll come up with are cheap units between $20 and $40, or the highest priced unit, the MT-03. Absolutely NOTHING available in between, at least from what I searched. The MT-03 headlight with fairing, brackets and clamps costs well over $400. With a little luck, I found the same headlight with very inexpensive brackets and clamps being sold in the UK for $155 USD. A friend of mine who makes custom parts for the RC racing community (Joe Sagan/Sagan Manufacturing) was able to fabricate custom carbon fiber brackets for my light housing that turned out great. I ordered a set of 4 clamps for $13 each from speedmotoco.com that fit up to the brackets quite nicely, but there are concerns with them hitting the tank when the fork is turned completely left or right. In total, the setup with everything cost me under $200 as opposed to over double that. The idea of restoring the tank emblems has now been shelved for a new design as an applied vinyl decal. In a quick glance, it’s the Honda wing, but the wing has both the detailed feathers from the 70’s, and the streamlined feathers that were introduced to the newest wing logo in the 1990’s. Since the bike is a mix of both of these decades, I thought it would be cool to make a hybrid of the wing logo. We had a local source make me a rough vinyl of another version (just the wing and very large) to test on the unrestored tank, and was able to get a feel for size and position, should we still go this route. (Oct. 12th, 2019) No plans as of yet to start digging into the build, but the stock oil tank was calling our name. We cut into it to see what we need to keep for the custom tank. It was the coldest morning in 4 months, so you can say the bug is coming back a little early - and before the project goes into full swing again this winter. (Oct. 19th, 2019) It was time to see if the MT-03 headlight, 45mm clamps from speedmotoco.com and brackets would fit up to the bike. Tape inside the clamps helped give them a snug fit, while spacers were made to add support between the brackets and light housing. The headlight unit was shipped with useless rubber grommets, so it was off to Ace Hardware to pick up real, properly sized well nuts for fitting bolts into the top left and right sides of the housing. Everything was correctly sized and spaced for when we eventually add the right hardware. (Dec. 20th, 2019) With finding a new location for the oil tank, since the area under the seat would be too tight for pods to fit on the carbs, it was time to cut into an area of the top of the swingarm - knowing that the integrity of the overall swingarm would not be compromised. Oil volume, supply and return have been accounted for on the mock-up (seen in the above photos) that is now with our welder. Jan. 6th, 2020 - Rebuilt and soda blasted stock carbs have arrived, while the intake boots and tapered chrome filters should be following shortly. (Jan. 11th, 2020) With the carbs and boots in the shop now, we fitted these up to the motor and hung the carbs with a zip tie until we get a full set of new clamps, so there was no reason to tighten everything down. We also hung the carbs in order to get an accurate length for the throttle cables. A plate and bracket were made to hang the coils underneath the tank. The support bar was welded to the plate and painted before bolting up. (Jan. 30th, 2020) A little late in the game but realized we needed a sprocket cover, so I ordered one off eBay. I wasn't expecting to find a clean one, so it was back to cleaning, sanding and buffing again. Being that it was a smaller piece helped cut down on time. (Feb. 14, 2020) The throttle cable assembly was added this week, but the throttle connection on the carbs had to be redrilled for the cables to work. I ordered an Acewell 2853 brushed stainless speedometer/tachometer from Dime City Cycles, and we mounted that up to the bars before all of the wiring gets done. (Feb. 24, 2020) The gas tank was cleaned internally this week before it goes off to paint, and in the meantime I ordered a fuel tap and gas gap gasket off eBay. March 3rd, 2020: The 1/8" aluminum oil tank has really come along since its been with the welder. Fittings were added for cap, supply and return as well. (March 5, 2020) The gas tank and front fender is with our painter and customer (Nate) who's done great job in his spare time priming and painting. Mark also had a KZ1000 painted in the same color, and we used the same red paint code as the 2014 CB1100, Candy Alazarin Red. (March 14, 2020) After getting the polished oil tank back from Dennis (which is now welded into the swing arm) it was time to completely clean, wet sand and polish the swing arm and oil tank once again. I won't go into how many more hours were put into this, as I'm sure you can guess by this point. We were also able to put everything back into the bike in the same weekend. (March 28, 2020) With the Covid-19 pandemic in full swing now, there are a few things that will need to be put off. In the meantime, the oil tank fittings will be getting cleaned up this coming week, and I'm looking into ordering the tank graphics (now correctly-sized) from a local printer. The build will be going over to Bob's house, he works for Mark and can help make the wiring harness. Other things that can be concentrated on in the coming weeks are ordering braided stainless hoses for the oil tank, chain guard, battery and mirrors. We'll also be finding or customizing a rear mudguard for the rear wheel at some point. (April 4th, 2020) I took the supply and return oil tank fittings home and polished them up. Can't say how many times my Dremel has come in handy. The fittings are with Dennis right now who's fitting up stainless braided hoses for them. April 6th, 2020: The EarthX ETX18B lithium battery arrived at the shop, and fits snuggly into the battery tray. (April 8th, 2020) Going back to the Honda vinyl tank graphics - I'm working with a local printer, Maximum Printing & Graphics in Downers Grove, just a few miles down the road. Very pleasant people to work with. Dave had me come in to check out 3 different silver materials that they offer, and before they make the graphics. He gave me samples so I could check them against the tank. One translucent, one brushed and the other a standard silver. The translucent was a close second to the standard silver, and the brushed was just way too reflective. Almost mirror-like. So standard silver was the winner. I gave the go ahead today. (April 11th, 2020) I used blue painter's tape as a marker to where I'd set the Honda tank graphics down. I chose to lay them down dry as opposed to using soapy water, since there were too many separate pieces in the logo to worry about. I also took into account that I only had one shot at this, so it was a bit nerve-wracking to say the least. And because of the curve of the tank, there were areas of the graphics that had to be lifted then laid back down due to kinking. It felt like forever as I was holding the graphics while trying to get them in the right position before they grabbed on to the tank. Overall I'm ver happy and needless to say relieved with how they turned out. (April 18th, 2020) I looked high and low for a custom rear tire hugger/chain guard, asking in CBR bike forums as well with no luck. I eventually found a few that are sold in the UK, and only one type. ordering directly from the manufacturer was the least expensive. Thinking it would be at least a few weeks before it arrived due to the pandemic, it only took 39 hours from purchase to arrival, which to me is unheard of. Assuming at first that we'd have to cut out a small part of the fender to accommodate the bottom corner of the oil tank, there ended up being just enough room with the bottom corner of the oil tank just touching the fender. Definitely a great win for the day. The hoses and fittings are almost complete, and picked up from Dennis today. The stainless steel braided return hose under the tank had some sharp turns to make it to the engine case, so the solve here was to use a shorter, 90-degree fitting and a braided cloth-wrapped rubber hose. Great that we were still able to use the stainless braid where it would be most visible. April 18th, 2020: Installed the rear LED strip and front indicators (from Dime City Cycles) in the carbon fiber headlight brackets. (April 25th, 2020) The vent hose was installed this past week and the tank is now filled with oil. The choke cables arrived as well. Ordered 2, a new cable and found an old cable that came with the stay. It was the only way to get the stay, at least the old cable was very cheap. The chain sprocket cover had to be modified in order to fit, since the swing arm restricts the area where the bottom bolt attaches. Wiring also started today, the Dyna ignition was installed, and even cranked over the starter to make sure all was good with the lithium battery. (May 2nd, 2020) Wiring harness is now being done at the shop and has come along way in the past week. Carbs were tuned today and the bike was fired up and sounded great, so far so good - and the oil tank is doing it's job. Points cover was now installed, and it's good to see another shiny piece on the motor. May 2nd, 2020: A short video of the bike running for the first time. (May 9th, 2020) Bob did end up taking the bike home with him to finish up the wiring, and brought the bike back to the shop on Saturday morning. While eating breakfast, I got a text from an unknown number (Bob) with a photo of Mark riding the bike. I couldn't get ready fast enough to get over to the shop. We took a few test rides and realized that a new front tire was not only desperately needed, but front brake pads as well. I'll have to get accustomed to the pegs position but besides that and the bars needing to be taken in a bit, everything felt really comfortable. The pads will be in this week but had to order a tire. I'll also need to go with K&N filters at some point soon. Felt so great to be on the bike going down the road, if only for a very short time, and it made the past 2 years feel like a quick blink in time. (May 16th, 2020) The front Conti Motion tire came in this past week and was put on the bike, but even while going from a 130 to a 120, this tire is taller and rubs the front fender. Looking to adjust that this coming week. New front brake pads are installed, but the front calipers need rebuilding as they're even dragging with the new brake pads. Quoting Mark, "We just keep lining them up and knocking them down." The rear tire is still in OK shape, but I may be ordering a new one this winter. Something a little smaller will help the rear fender clearance, since that's little tight right now. And the mirrors arrived, they're a bit taller than I expected but match the lines and finish of the headlight housing. May 16th, 2020: The new mirrors are a bit taller than expected, but liking that they compliment the the lines and finish of the headlight housing. The front brake cable will get shortened up this winter. (May 21st, 2020) We modded the front fender mounts enough to get another 1/4" of height out of it, enabling it to clear the new taller tire. Took the bike for another test run, and the front end felt really good with the new pads and caliper fix. (May 23rd, 2020) Took the bike home this afternoon. I'm definitely at a point now where I can get a season of riding in while putting off a few minor things until winter, including hardware and larger spacers for the headlight mounts, painting the rear tire hugger and upgrading to K&N pods. And probably a few other things (you know how it goes). I can't thank Mark enough for all of the time he put in – as well as his contacts and our parts sources – over the past 2 years in helping make this "Hey! What if we" idea come to life. I'll continue to post pics here through riding season. Stay tuned! June 24th, 2020: Here are few more photos of the bike, one taken with a friend and the other getting gas. Depending on how much sunlight there is, this paint job can look completely different - as you can see here. 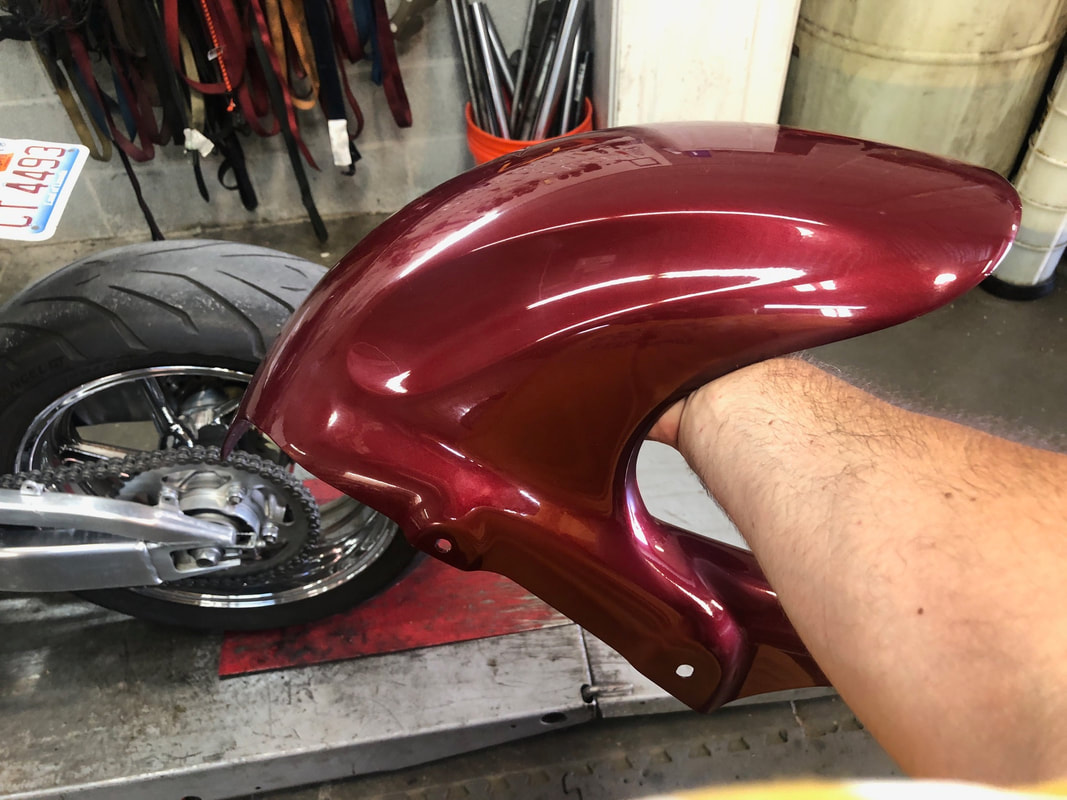 (July 10th, 2020) Since our original painter was no longer able to do this type of work anymore, the rear fender was painted by Mark's immediate neighbor in the industrial park. He came over with a paint chip book and matched the tank and front fender perfectly, and painted it that same night. We also put on a new Conti Motion 180/55 rear tire, which fits with the fender much better than the old 190 that was on the rear of the CBR when we acquired it. (March 18th, 2021) Thought it would be a good idea to upgrade the air filters to K&N, since the other ones I was using were very cheap. I had to make a few sacrifices here and there for the more important/more expensive parts during the build. (April 14th, 2021) I was having issues starting the bike, enough to where I'd end up quickly killing the battery. Mark's solve was advising me to replace my incandescent headlight bulb with an LED, as there would be much less drain off the battery. And what a difference this made, since the bike now starts up much easier on cold mornings. SOURCES/LINKS AND SPECIAL THANKS TO ALL THAT HELPED WITH THIS BUILD!: Mark Smit/M&M Motorsports Dave Albrecht/Albrecht's Fast Track Dennis Spal/High Speed Welding Joe Sagan/Sagan Manufacturing Anders Carlson Lo-Ko Performance Coatings Dime City Cycles Parts Unlimited, Inc. VintageCB750.com Old Bike Barn Delkevic EarthX Batteries Maximum Printing & Graphics 4into1.com Ronniesmailorder.com Pyramid Plastics Speedmotoco.com Honda CB750 Motorcycles 69-78 FB Group jtmarks77 Sunshine Motorcycle Parts
1 Comment
|
